Last updated November 18, 2026





Free written scope consultation - allowances, timeline, and change-order rules on paper before a single trade is scheduled
General Contractor Maintenance Schedule: What to Do and When
The 30-day mark after a remodel closes out is the most overlooked deadline in home improvement. That’s when most touch-up windows close, when caulk joints show their first stress, and when the crew has already moved on to the next job. A finished project isn’t maintenance-free; it’s a set of warranty clocks that start ticking the day the last cabinet door is hung. In this guide, we’ll walk you through a year-by-year maintenance calendar for Santa Clarita homeowners, so nothing voids quietly and no inspection window slips past you.
Quick Answer
A post-remodel maintenance schedule has three critical checkpoints: a 30-day walkthrough to catch settling and caulk stress while touch-up coverage is still open, a 90-day check on grout, paint and moving parts, and a 365-day review before your workmanship warranty hits its first anniversary. After that first year, seasonal maintenance tuned to Santa Clarita’s heat cycling keeps the work – and the warranties behind it – intact.
Styles & brands we work with
- Kitchen remodeling
- Bathroom remodeling
- Home additions & ADU
- Roofing
- Windows & doors
- Driveway & pavers
- Fence
Table of Contents
- Why a Finished Remodel Needs a Maintenance Schedule
- The 30/90/365-Day Post-Project Checklist
- Materials With Maintenance Requirements That Affect Warranties
- How to Log and Photograph Conditions to Support a Warranty Claim
- Permit Close-Out: What Final Inspection Approval Means for Insurance
- Seasonal Maintenance for Santa Clarita’s Heat Cycling
- Common Mistakes to Avoid
- When to Call a Professional
Why a Finished Remodel Needs a Maintenance Schedule
New construction is not static construction. Wood framing dries and shrinks, grout cures and shifts, caulk flexes through its first hot and cold swing, and paint film loses its plasticizers as it fully cures. In the first year, all of that movement happens at once. It isn’t a defect; it’s normal material behavior. The problem is that the windows for catching it are short, and the paperwork behind your warranties has deadlines attached.
In our experience remodeling homes across Santa Clarita, the homeowners who preserve their warranty coverage are the ones who put a calendar reminder around the closeout walkthrough and then actually check the work at 30 days, 90 days, and a year. It takes about 20 minutes per checkpoint. Skipping it is the difference between a covered repair and a bill.
There’s a second reason to schedule this maintenance rather than treat it as an afterthought. Santa Clarita sits in a climate that stress-tests exterior and interior work all year. Summer highs regularly climb above 100°F, and the daily swing between afternoon heat and overnight cool works caulk, trim, and paint harder than in a coastal climate. A schedule built for a mild market won’t protect a home in the Santa Clarita Valley. Ours is built for this valley.
This guide applies whether you’ve just wrapped a Kitchen Remodeling in Santa Clarita project, finished a bath, or completed a whole-home remodel. The materials and timing differ, but the clocks work the same way.
The 30/90/365-Day Post-Project Checklist
Three checkpoints, three specific purposes. Here’s exactly what to look for at each one.
30 Days After Close-Out
- Press every caulk joint in kitchens and baths with a fingertip. A joint that flexes away from tile or wallboard is starting to fail and should be recaulked while touch-up coverage is still open.
- Check grout lines for hairline cracks, especially around floor tile edges and shower benches. Photograph any you find with a coin or ruler for scale.
- Open and close every cabinet and drawer a few times. Look for doors that suddenly rub, because hinges settle at 30 days and a free adjustment is usually available.
- Look at freshly painted trim for hairline checks where it meets wall and ceiling. Check any exterior paint at south- and west-facing walls first.
- Run every fixture and drain, and note any slow drain or drip that wasn’t there at the walkthrough.
90 Days After Close-Out
- Inspect grout joints again; hairline cracks that keep opening in the same spot signal movement, not just curing.
- Check exterior window flashing and door flashing for separation from the wall, particularly after the first heat cycle.
- Look at any new siding or exterior trim for gaps at butt joints and around penetrations. Caulk these while it’s still within warranty window.
- Test all GFCI outlets and reset the ones in wet zones. A nuisance trip in a new bath is common and worth logging.
365 Days After Close-Out
- Do a full comparison against your closeout photos. Line up the same angles and note anything that changed.
- Check every caulk joint again, top and bottom, in every room you remodeled.
- Walk the exterior, roof edge, and any new patio or hardscape. Look for settled joints, hairline cracks, and any spot where water pools.
- Test smoke and carbon monoxide detectors and note their manufacture dates for your log.
- Call for any warranty work before day 365, not on it. Most workmanship promises run one year from substantial completion, and the last two weeks are always busier than the first fifty.
One practical note: mark the closeout date on your own calendar at the same time you mark your first mortgage payment. The moment the project ends is the moment you’re most likely to forget it.
Materials With Maintenance Requirements That Affect Warranties
Several manufacturers tie their warranty to a documented maintenance routine. Miss the routine and a product failure can be denied as “lack of maintenance,” even when the failure has nothing to do with what you skipped. Here’s what to watch, and why it matters in Santa Clarita.
- Grout and sealant. Cementitious grout in showers and wet zones needs resealing roughly every 12 to 18 months. In Santa Clarita’s dry heat, shower grout dries so fast between uses that homeowners often skip resealing. Manufacturers can reject a stain or efflorescence claim if the surface was never sealed.
- Caulk and expansion joints. Caulk is a consumable. In our experience, exterior caulk on a south-facing wall around here will show its first failure in 18 to 30 months unless it’s a high-movement silicone. Keep every tube label you used – some warranties ask for the specific product.
- Paint. Exterior paint typically asks for a wash or repaint cycle to stay valid. Santa Clarita’s UV load ages paint faster than the label assumes, so plan on a light wash each spring and a fresh coat sooner than the can says.
- Flashing and weather barriers. Flashing warranties usually require that the flashing not be modified, and that penetrations for solar, satellite, or HVAC not be added without re-flashing. That’s a real trap after a remodel, when homeowners add solar within the first year.
- Countertops. Quartz from Cambria, Silestone, or Caesarstone carries a strong manufacturer warranty on the slab itself, and each brand has a short list of care rules. Avoid leaving hot pans on any quartz; heat shock can craze the surface and void the claim.
- Cabinetry. KraftMaid and Wellborn warranty hinges and finishes, but you’ll need to keep the hardware and door operation nominal. A hinge that’s been left to swing past 90 degrees for a year can become a denied claim.
Our technicians have up to 22 years of experience, and one thing that experience teaches is to keep the documents. Pull every install sheet, warranty card, and product label into one folder at closeout. When a claim comes up in year two, you’ll have the exact product name and serial that the manufacturer asks for.
How to Log and Photograph Conditions to Support a Warranty Claim
A warranty claim is a factual argument. The stronger your record of conditions over time, the easier the claim is to accept. Here’s the method we recommend to every Santa Clarita homeowner at closeout.
- Build a baseline photo set. On closeout day, photograph every room, every joint, and every exterior face from consistent angles. Include a tape measure or a coin in every close-up so scale is visible.
- Start a simple log. A single document with date, room, what you saw, and what you did. Even a phone note counts. Claims adjusters respond well to a dated log; they can’t argue with a dated log.
- Photograph at each checkpoint. Repeat the same angles at 30, 90, and 365 days. Side-by-side comparison is the strongest evidence for showing what changed and when.
- Keep weather notes. Note the date of any extreme heat wave, wind event, or rain. In Santa Clarita, a wind-driven rain event will explain a leak far better than a generic “it started leaking.”
- Save the paperwork too. Warranty documents, product labels, and inspection letters go in the same folder.
The 365-Day Done Right Promise makes this easy: if something fails inside the guarantee period, we come back and fix it at no charge. But the stronger your record, the faster the return. To protect your own position, don’t leave the baseline photos to the last minute; take them before furniture moves back in.
Permit Close-Out: What Final Inspection Approval Means for Insurance
“Final inspection approved” is more than a line on a piece of paper. It’s the moment your remodel becomes a permitted, inspected, legally complete improvement, and that has insurance consequences few homeowners know about.
- Notify your carrier. Most homeowner policies assume the home as insured, and a major improvement changes the home’s replacement cost. Increase your dwelling coverage to match. If you skip this, a fire or water loss claim can be underpaid.
- Get the certificate in writing. Ask for the final inspection approval and keep the signed-off permit card. Some carriers want it when a new addition or new living space is on the policy.
- Ask about discounts. A new roof, new electrical panel, or upgraded smoke and CO detection can all reduce a premium. Santa Clarita’s fire exposure means carriers often ask about both.
- Check the permit closeout date. Your first-year warranty starts at substantial completion, but your insurance’s “new construction” assumption starts at final approval. Note both dates; they aren’t always the same day.
If a permit is left open, some insurers treat the improvement as unpermitted work, which complicates future claims and resale. Pulling permits and passing final inspection is part of what any reliable general contractor should handle. We pull them, we pass final, and we hand you the paperwork.
Seasonal Maintenance for Santa Clarita’s Heat Cycling
Santa Clarita’s summer heat and overnight cooling put the materials in a continuous slow flex. A finished remodel in Valencia, Saugus, or Canyon Country is exposed to afternoon highs well above 100°F and much cooler nights. That cycling does specific things, and knowing them tells you what to inspect each season.
- What heat does to caulk. Caulk stretches during the day and contracts at night. Over a few seasons, the joint’s surface skin cracks or the bead pulls away from one edge. Plan to inspect exterior caulk each spring and recaulk any joint that has lost adhesion.
- What heat does to wood trim. Exterior trim shrinks and gaps at butt joints. The classic Santa Clarita symptom is a hairline gap at a door or window casing. Address it before it opens into a moisture entry point.
- What heat does to paint. UV and high heat break down paint film faster than most label assumptions. Washing annually and touching up any chalking or fading at south- and west-facing walls preserves the paint warranty.
- Check after the first fall rain. Santa Clarita usually gets its first rain in late fall or early winter. The first rain is the real test of any roof, gutter, or flash work. Check downspouts and hardscape drainage that first week.
- Turn the irrigation and check hardscape in spring. New pavers and patios, whether set with Techo-Bloc, Cambridge Pavers, or standard concrete products, can settle or shift at edges. Small joint sand refills in spring save larger repairs.
If your remodel included any hardscape, spring is also the season for a quick joint-sand top-up and a check for any settled edge. The Bathroom Remodeling in Santa Clarita team routinely sees valve drips and grout quirks that show up in the second summer, not the first, so don’t relax after year one.
Common Mistakes to Avoid
- Waiting until year one is almost over. The last two weeks of any workmanship warranty are the busiest for every contractor. If something looks off at month 10, report it then, not at month 12.
- Treating the final walkthrough as the finish line. That walkthrough is the starting line for your first-year performance checks. The truly important walkthrough at 30 days is the one most homeowners forget.
- Stacking furniture against new paint or caulk. In every Santa Clarita remodel we’ve done, the quiet damage is a bookcase or sofa moved in too fast, scuffing paint and pinching caulk lines before they’d set.
- Skipping the carrier call. The single biggest post-remodel claim problem we see is a homeowner who never told their insurer an addition was built. It costs nothing to update the policy, and it protects everything you just paid for.
- Adding solar or satellite without re-flashing. A single new penetration on the roof or wall can void the flashing warranty on that face. Always re-flash, always document.
- Tossing the warranty folder. In Santa Clarita’s second-summer heat, a denied grout or caulk claim usually comes down to a missing install sheet. Keep the folder in one place, physical or digital, and keep it all.
- Doing roof, electrical, or gas checks yourself. Roof edge inspections, panel checks, and any gas line work are dangerous and often require a licensed professional. Have someone trained check them; the cost of a visit is far less than the cost of the alternative.
When to Call a Professional
Most of the calendar above is homeowner-observable. A few things should always bring in a trained professional, and doing so is worth the trip: any water intrusion at a wall, ceiling, or around a window; a slow drain that returns after a clean-out; grout cracks that reopen in the exact same spot after being filled twice; a door or cabinet that moves further away from square; smoke or CO alarm failures; anything electrical at the panel; and any roof edge or flashing condition you’re not sure about from the ground. Those are all cheap to inspect and expensive to ignore. If you just finished a whole-home remodel, treat the end of year one as a professional check-in, not a solo chore.
Penhallow Remodeling Santa Clarita offers free estimates in Santa Clarita – call (866) 383-6693.
See the difference
 Before
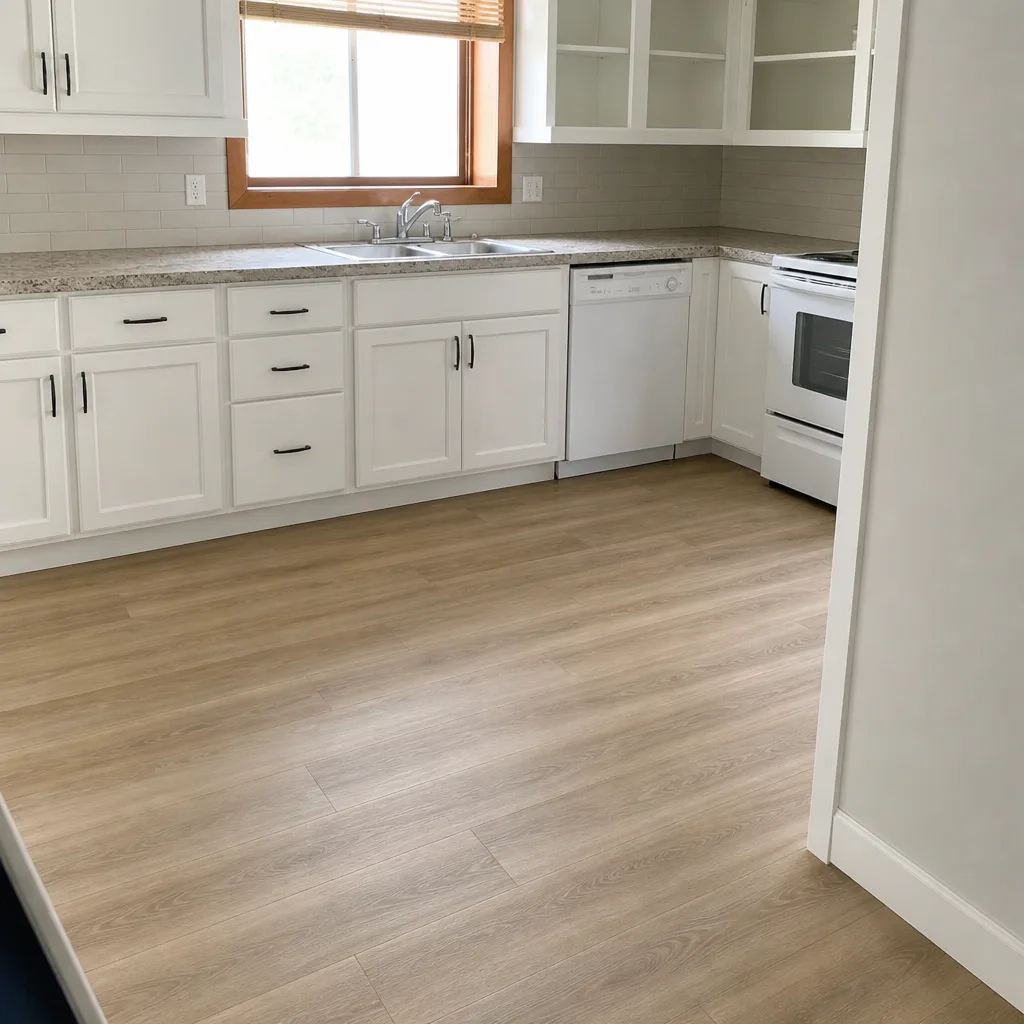 After
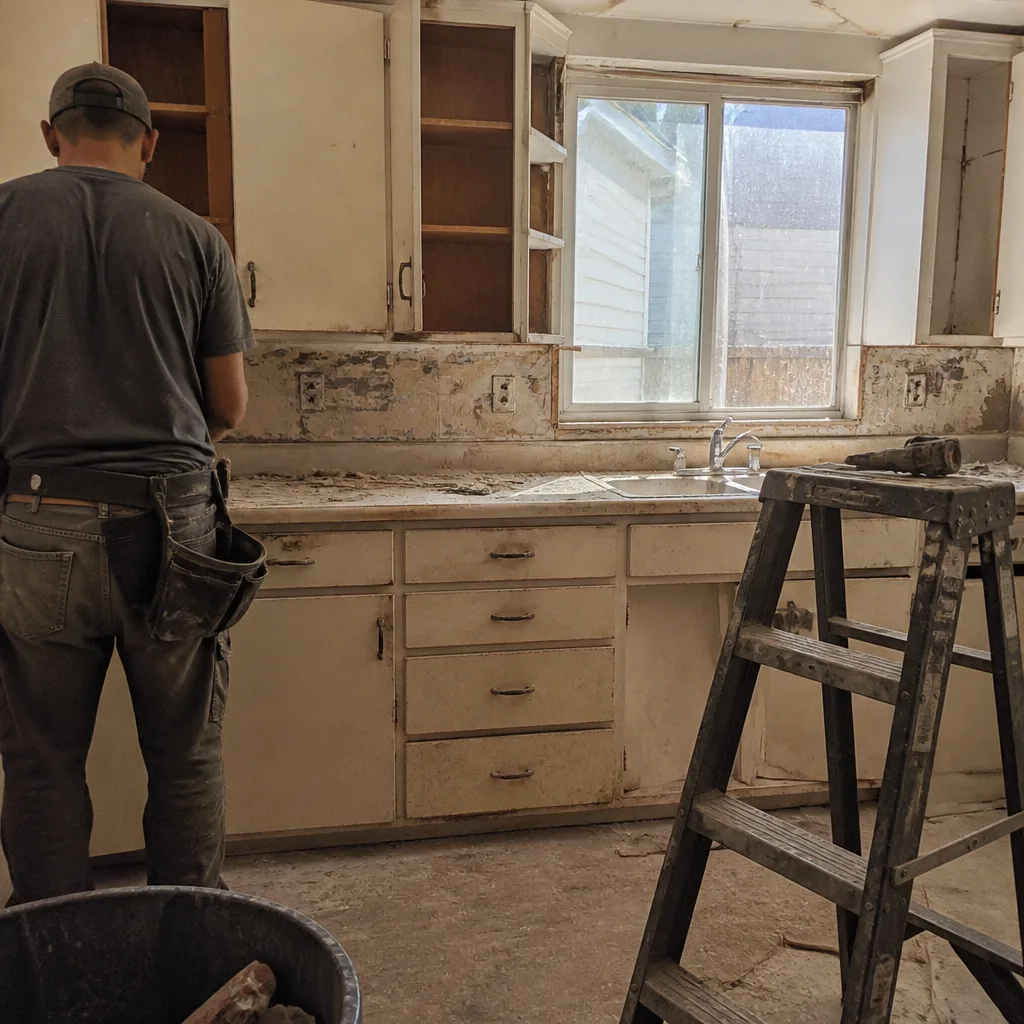 Before
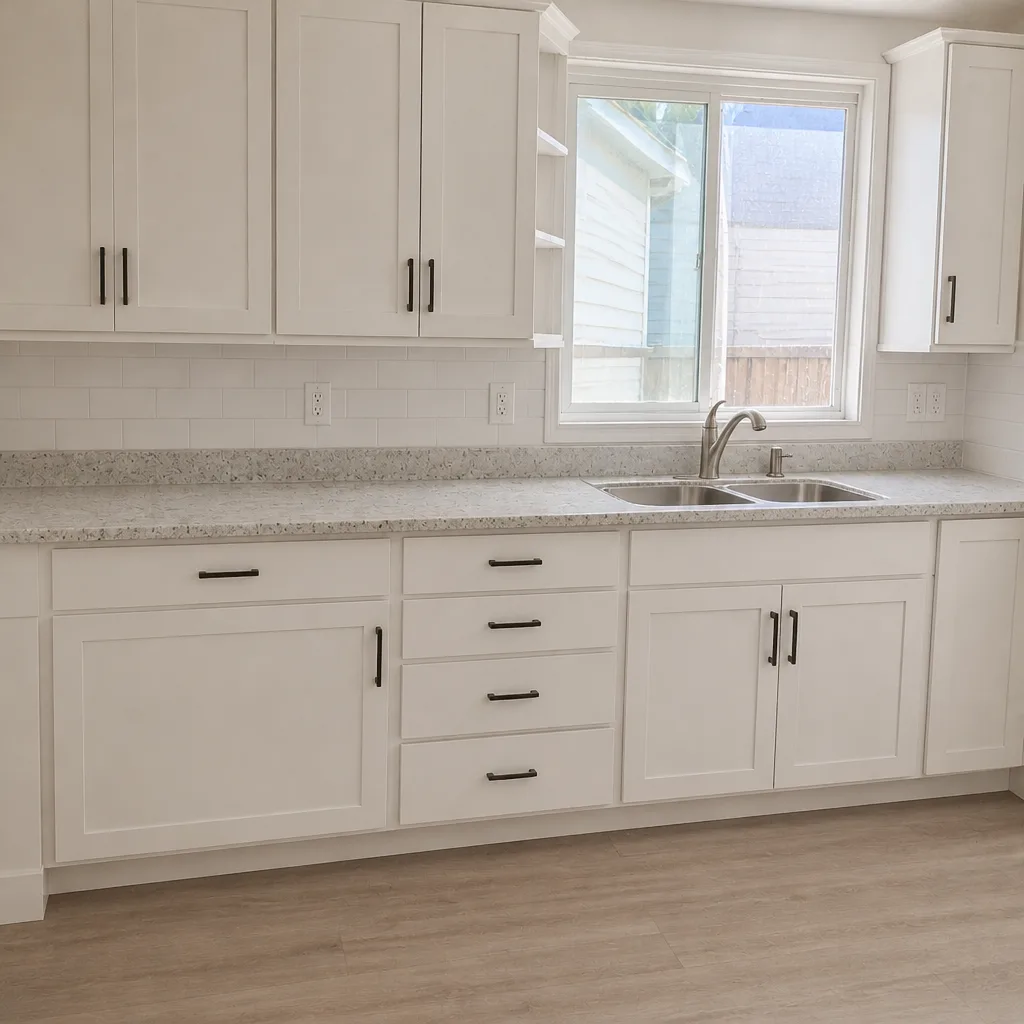 After
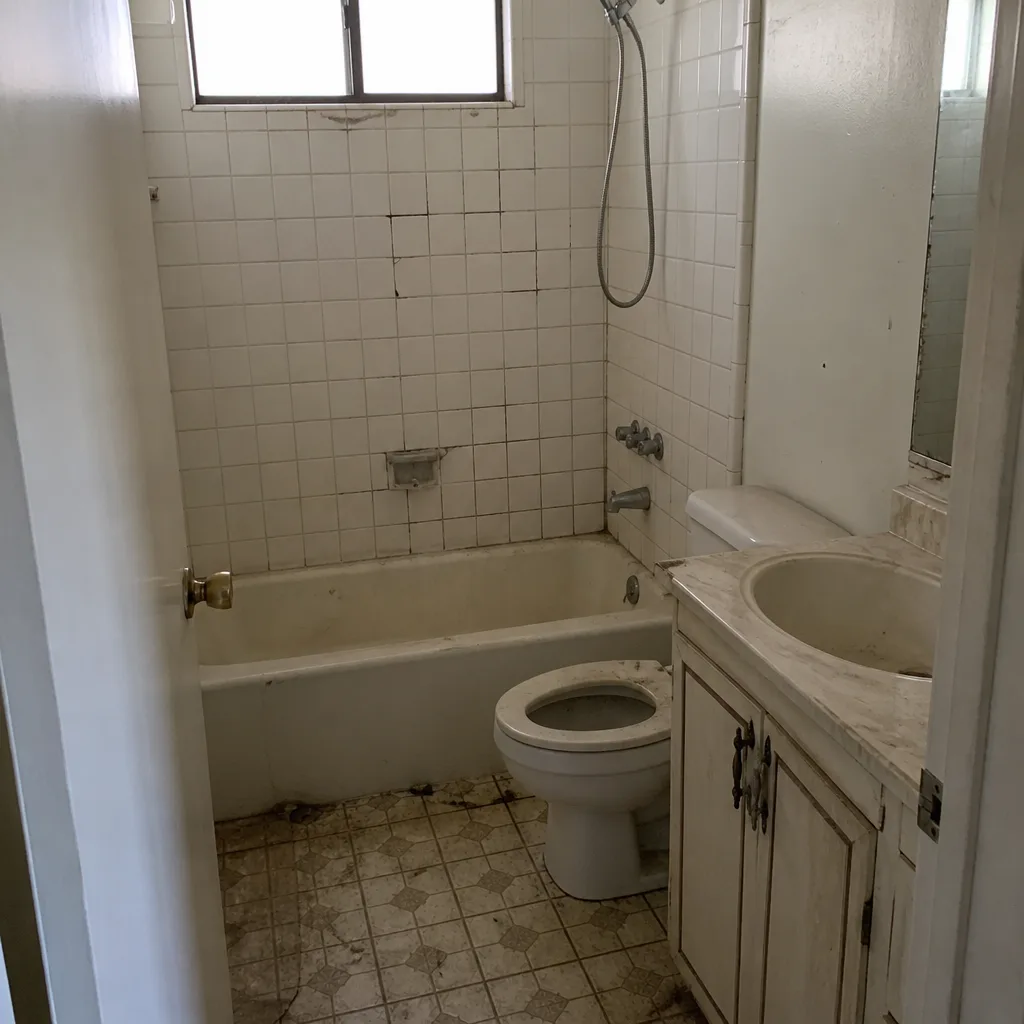 Before
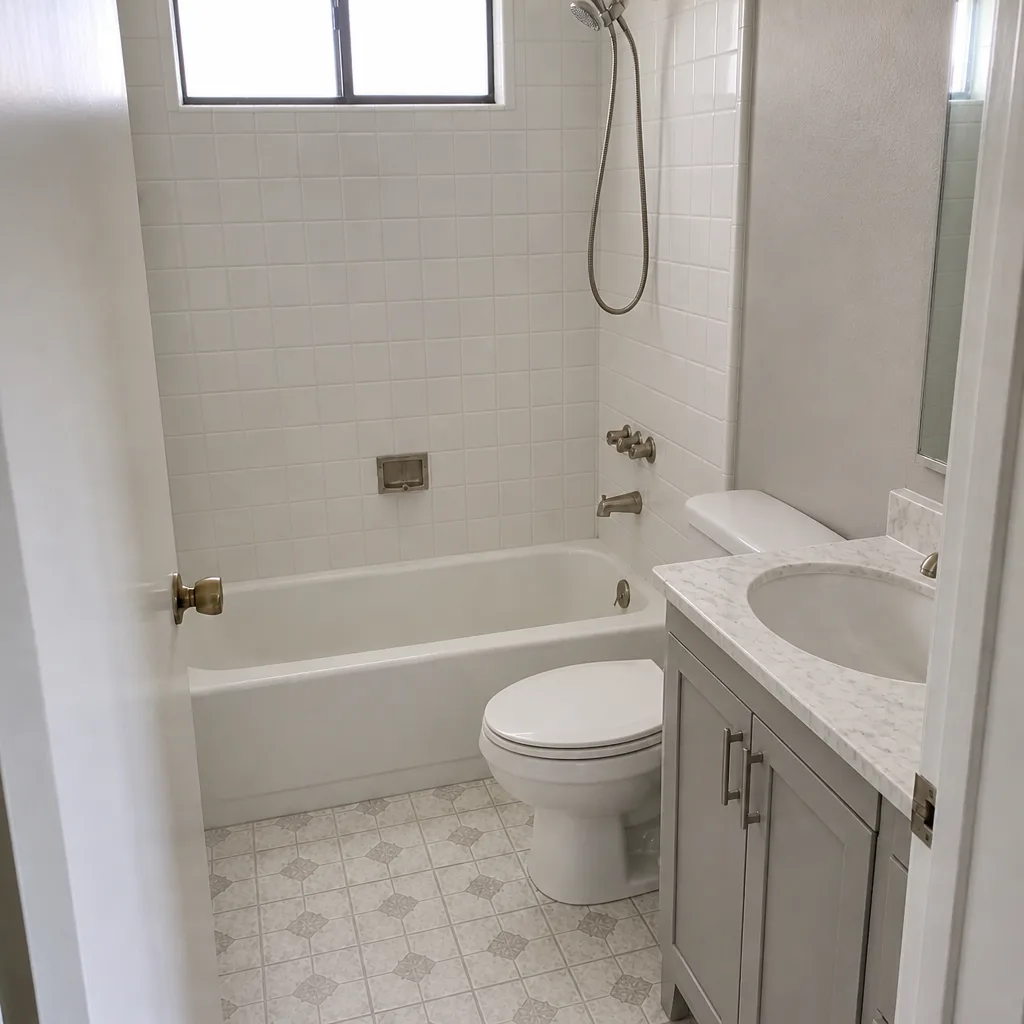 After
Frequently Asked Questions

Do a full walkthrough at 30 days, with a second lighter check at 90 days and a final review at 365 days. The 30-day check is the most important one, because it’s still inside most touch-up windows and the first caulk and grout stress is visible.
Yes, and you should notify your carrier after final inspection approval. A remodel changes the replacement cost of your home, and some carriers also offer discounts for new electrical, new roof, or upgraded smoke and CO detection. Call your carrier once the permit is closed out.
Grout, caulk, exterior paint, flashing, and countertops are the main ones. Each manufacturer sets its own rules, but the common thread is that a documented maintenance routine preserves the claim. Keep your product labels and install sheets together.
Often, yes. In Santa Clarita’s summer heat, shower caulk can show its first adhesion failure within one hot season, and recaulking early is a homeowner-level job with a tube of silicone. If the failure is at a waterproofing layer rather than the surface bead, call a professional.
It proves your remodel was inspected and is legally complete, and it’s the document your insurer may ask for. Keep the signed-off permit card and the approval notice in the same folder as your warranty documents.
Call the contractor, describe the specific failure, and provide your dated photos and the original closeout date. Under a well-written guarantee, the return visit is typically free of a service call. For our projects, the 365-Day Done Right Promise covers any repair failure inside the first year.
The Bottom Line
A finished remodel carries several clocks at once: material settling, product warranty rules, permit closeout, and insurance assumptions. Put those dates on your calendar at closeout and the whole system works. Check at 30 days while touch-up coverage is open, check again at 90 days to catch what’s still moving, photograph all of it, and review at 365 days before your workmanship warranty hits its first anniversary. Then run a light seasonal check tuned to Santa Clarita’s heat cycling. If you’d rather have a professional do the walkthrough, or you’re planning a new project and want the price in writing before a single cabinet is pulled, call (866) 383-6693 for a free estimate. We’re happy to start with the calendar.
Written by the team at Penhallow Remodeling Santa Clarita.