Last updated November 18, 2026



Free written scope consultation - allowances, timeline, and change-order rules on paper before a single trade is scheduled
Kitchen Remodeling Troubleshooting: Common Problems and How to Fix Them
Cabinet doors that won’t close, grout that cracks in six months, a dishwasher that leaks at the connection the day it’s first run – these aren’t bad luck, and they aren’t the fault of the materials. They’re the downstream result of three or four specific installation shortcuts, and knowing which shortcut caused which problem is the difference between a targeted fix and tearing out work that was fine all along. In our experience across Santa Clarita kitchens, the same handful of failures show up again and again, and nearly every one has a known remedy that doesn’t require starting over. This guide gives you a plain-language diagnosis tree: what went wrong, how to tell, and what the fix actually costs.
Quick Answer
Most kitchen remodeling problems trace back to one of four root causes: cabinets installed before a level line was set, a missing expansion joint at the countertop-to-wall connection, a countertop template cut before the cabinets were finalized, or appliance dimensions never confirmed before the boxes went in. Each has a specific fix – shimming, re-caulking with a flexible joint, re-seaming, or reworking the opening – and none of them requires a full redo if you catch the problem early and document it clearly.
Styles & brands we work with
- Kitchen remodeling
- Bathroom remodeling
- Home additions & ADU
- Roofing
- Windows & doors
- Driveway & pavers
- Fence
Table of Contents
- Cabinet Doors and Drawers That Won’t Hang Right
- Why Grout Cracks at Backsplash Corners
- Countertop Seams: Template, Install, or Normal Movement?
- When the New Appliance Doesn’t Fit the Opening
- The Floor That Isn’t Level and What It Does Downstream
- How to Document and Present a Problem to Your Contractor
- Common Mistakes to Avoid
- When to Call a Professional
Cabinet Doors and Drawers That Won’t Hang Right
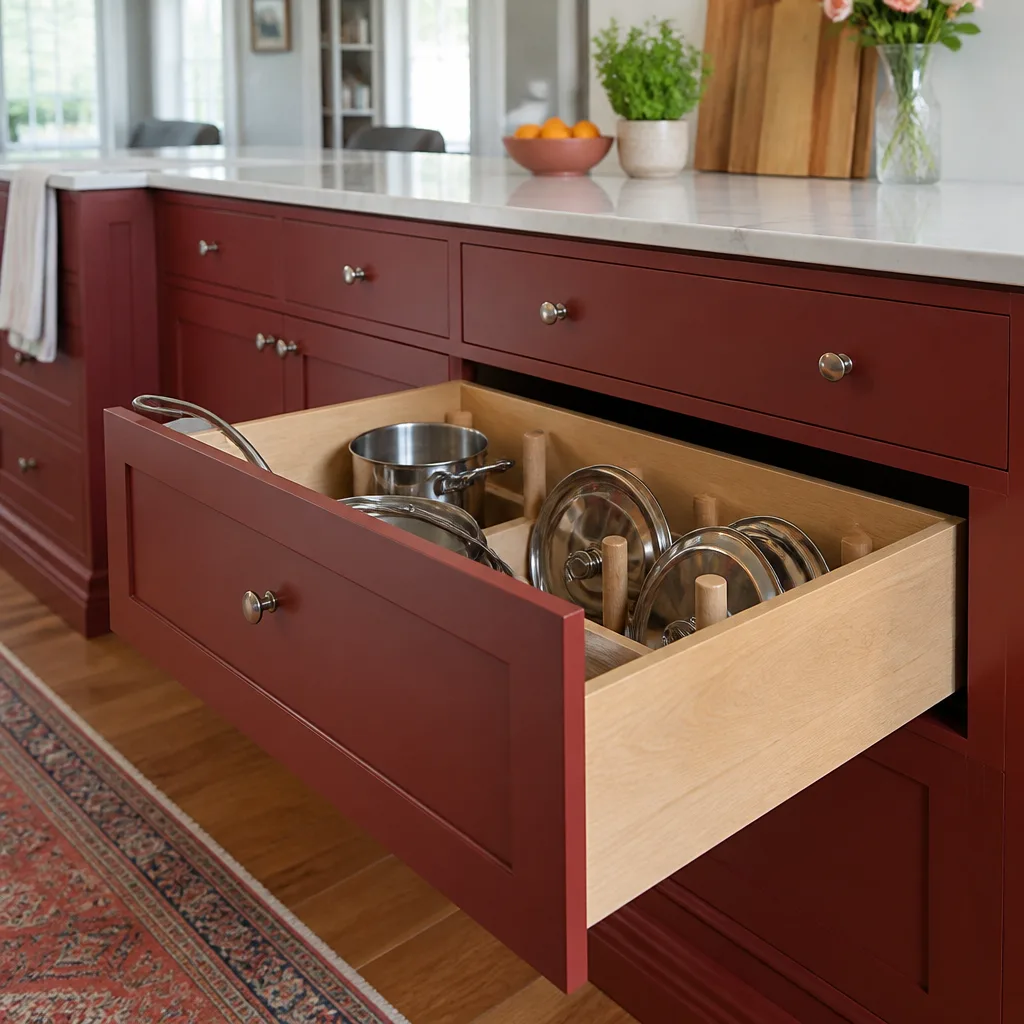
A cabinet door that sits proud at the top corner or drags along the bottom is almost never a defective door. It’s a symptom. The question to ask is whether the box itself is out of square, or whether the door just needs adjustment. Those are two very different problems with two very different price tags, and the diagnosis takes about two minutes with a torpedo level and a flashlight.
The homeowner-level fix: shimming and hinge adjustment. Open the door and look at the gap between the cabinet face frame and the wall. If you can see daylight, a gap, or a shim that’s worked loose, the box has pulled away or was never shimmed tight. Most European-style concealed hinges have three adjustment screws – one for side-to-side, one for up-and-down, one for depth. A quarter turn on the right screw will often bring a door back into alignment in under five minutes. If the door is level but the gap around it is uneven, that’s a hinge adjustment. If the door itself is warped (hold a straightedge against it), that’s a replacement door, and it should be covered under the cabinet manufacturer’s warranty – KraftMaid and Wellborn both carry strong ones.
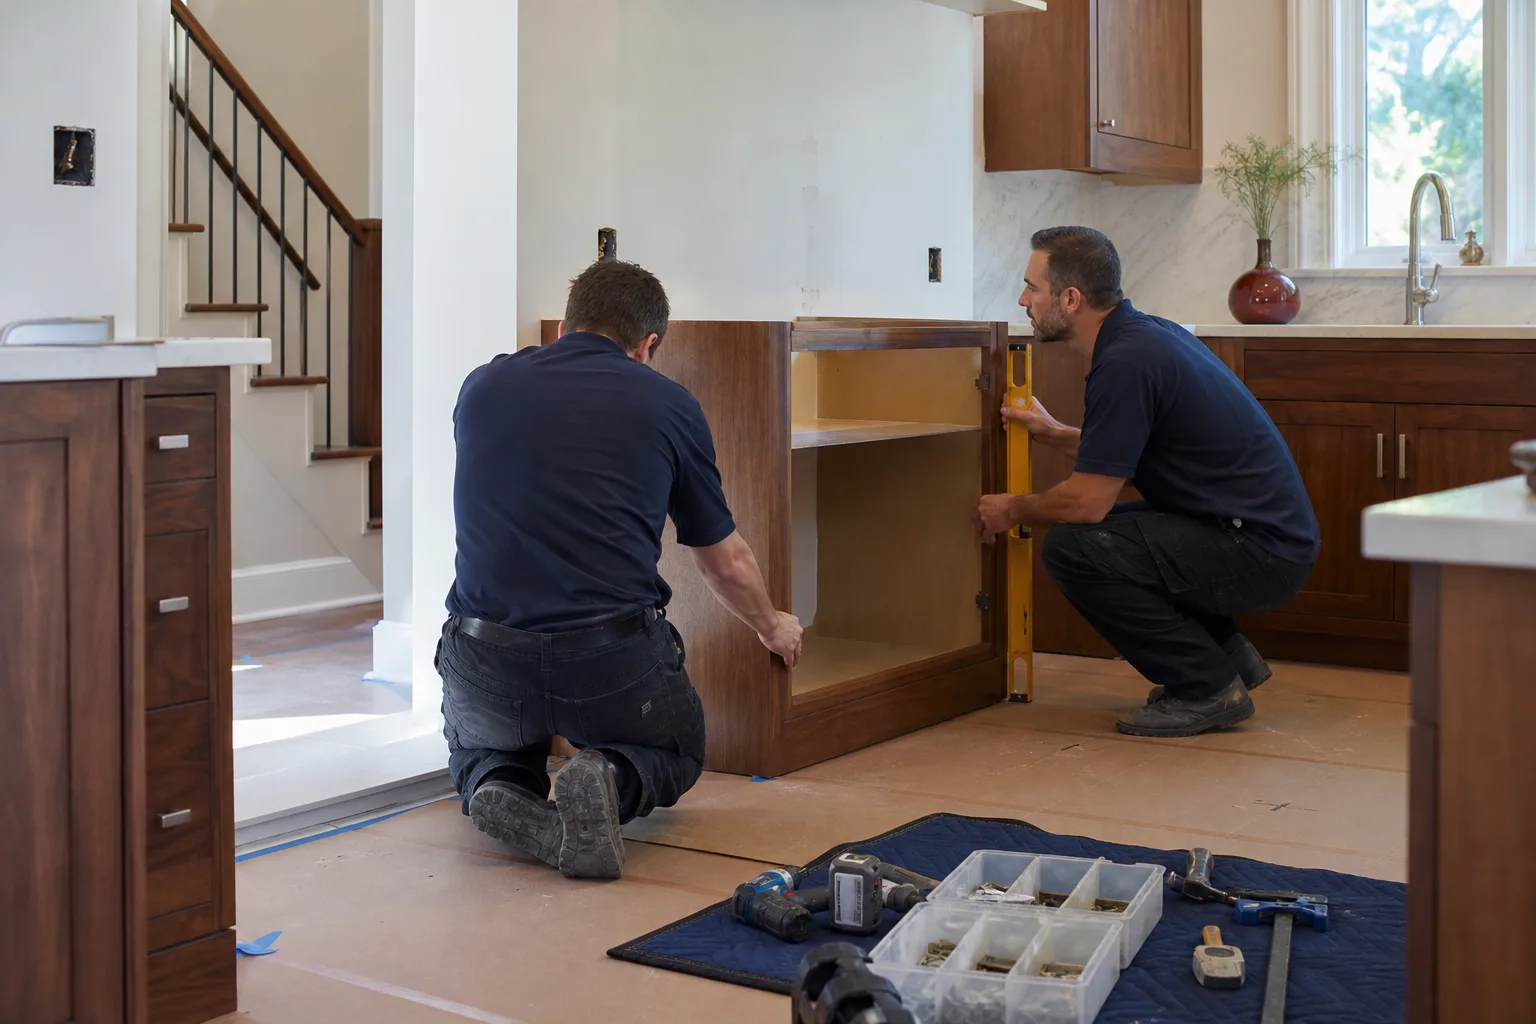
The case-level problem: an out-of-square box. Lay a level across the top of the cabinet run and check the front face frame vertically. If the box is twisted or the run is out of level by more than 1/8 inch over a few feet, no amount of hinge adjustment will fix it. That’s a carpenter-level repair – the cabinet has to be loosened from the wall and reshimmed at the base, or in a bad case, the run has to be reset. In Santa Clarita’s newer tract homes, we regularly see this on cabinet runs installed against a wall that itself isn’t plumb, which is why the shim pack matters more than the box quality.
Drawers that bind are usually the same story from a different angle: the two side-mount or undermount slides aren’t parallel. Pull the drawer out and check that both slides are screwed in at the same height. If one is a half-inch low, the drawer will bind no matter how well the box was built.
Why Grout Cracks at Backsplash Corners
Grout cracking where the backsplash tile meets the countertop, or where two walls of backsplash meet at an inside corner, is one of the most common complaints we hear. Homeowners often assume it’s the grout product. It almost never is. In the overwhelming majority of cases, it’s an expansion joint error – grout was used where a flexible sealant should have been.
Grout is rigid. Tile, countertops, and the framing behind them all move, expand and contract with temperature and humidity. Santa Clarita’s dry summers and cooler winters push that movement further than a coastal climate does. When two rigid surfaces are locked together with rigid grout at a corner, the grout is the sacrificial piece – it cracks first, because it has nowhere else to give.
How it should be done: Every change of plane – countertop to backsplash, wall to wall at an inside corner, backsplash to window trim – should be filled with a flexible sealant (a color-matched silicone or urethane caulk), not grout. Grout is for flat fields between tiles on the same plane.
How it’s repaired: The cracked grout is raked out with a grout saw or oscillating tool, the joint is cleaned and dried, and flexible sealant is worked into the joint and tooled smooth. In most kitchens the fix is a few hours of work, not a tear-out, and the repair holds if the sealant is applied correctly. On a backsplash we recently inspected in Saugus, the crack was traced entirely to this – the field grout was fine, and only the corner joints had failed.
Countertop Seams: Template, Install, or Normal Movement?
Quartz and granite countertops arrive in pieces and are seamed together on site. A visible seam is normal – the goal is a seam that’s tight, color-matched and barely reads from standing height. When a seam is obvious, separated, or uneven, there are three possible causes, and knowing which one you’re looking at determines who should fix it.
- Template error. The seam was placed in a spot that catches light or falls in an obvious sightline. If you can see the seam from the doorway of the kitchen, that’s usually a layout decision made at template – the fabricator had a chance to move it. Fix: usually a new piece, and it should be covered under the fabricator’s warranty.
- Installation error. The seam is open (you can catch a fingernail in it), or the two pieces are at slightly different heights. That’s a setting error on install day, and it’s repairable: the seam can be re-epoxied, sanded flush and re-polished on site. Cambria, Silestone and Caesarstone all specify color-matched seam epoxy, and a good fabricator can make a re-done seam nearly disappear.
- Normal movement. A hairline crack along a seam after a year or two, especially on a long run, is usually the two slabs moving independently. This is where a lot of Santa Clarita kitchens land, because the dry climate cycles the framing more than homeowners expect. The fix is a clean-out and re-epoxy of the seam, not a replacement.
One thing to check before you call: whether there’s an expansion gap where the countertop meets the wall. If the slab is installed tight against the back wall with no gap, the first hot week can push a seam open by itself. That’s an installation detail and worth flagging in writing.
When the New Appliance Doesn’t Fit the Opening
This is the problem that makes homeowners the angriest, and it’s completely avoidable. Cabinets get installed, the countertop goes on, and then the new refrigerator, range or dishwasher arrives and doesn’t fit the opening by half an inch. The cause is almost always the same: the appliance dimensions were never confirmed in writing before the cabinet box was ordered.
Appliance openings are not standard. A “30-inch range” opening is built to the appliance’s actual width plus a specified clearance, and different brands and models vary by a fraction of an inch that adds up. Refrigerators are worse – depth, height and door-swing clearance all vary. When the cabinet order is placed off a plan from memory, or off a model the homeowner later swaps, the opening is wrong.
The fix options, roughly in order of cost:
- Trim the opening. If you’re 1/4 inch short on a base cabinet opening, a carpenter can trim the stile or filler. A small job, typically a few hundred dollars.
- Reconfigure the filler. If the appliance is bigger, a wider filler strip may solve it without touching the box.
- Return the appliance. If the opening is right and the appliance was the change, contacting the appliance dealer usually resolves it, especially within a return window.
- Rebuild the opening. When the size gap is larger, the cabinet has to be reworked or replaced. This can run into four figures, which is why the dimensions should always be in writing before the order.
Our rule: the appliance model numbers go in the contract scope before the cabinet box goes to the manufacturer. No exceptions.
The Floor That Isn’t Level and What It Does Downstream
A kitchen floor that’s a quarter-inch out of level end to end is common, especially in older Santa Clarita homes built before the 1990s. What matters is whether the cabinet installer accounted for it. Cabinets should be shimmed to a level line at the top, not just set on the floor and screwed to the wall. When they aren’t, every downstream piece inherits the problem: doors are harder to hang, countertops need shims at install, and the seams and backsplash joints move.
If you’re troubleshooting, start at the floor. Check whether the cabinet run is level at the top and whether the shim line exists at the base. The fix for an out-of-level install is to reshim from the base up – a two-person job that can take a day per run. The fix for an out-of-level floor underneath an otherwise level kitchen is not to touch the cabinets.
How to Document and Present a Problem to Your Contractor
How you present a problem changes how fast it gets fixed. We’ve seen homeowners get a contractor out the same week with a clear, short writeup – and we’ve seen others get ignored for months because the complaint was a string of texts. A written guarantee also changes the equation. If your contract includes a guarantee – like our 365-Day Done Right Promise – you have documented leverage from day one.
- Photograph in good light. Wide shot of the whole area, then close-up of the specific problem, plus one showing the level or tape measure in frame. Three photos beat ten.
- Write one paragraph describing the issue. What it is, where it is, when it appeared, and what changed. No editorializing about whose fault it is.
- Reference the contract scope. Quote the line that covers it – “cabinet installation” or “countertop fabrication” – so it’s clear the issue is in scope.
- State the remedy you’re asking for. “We’re asking for the door to be rehung and the seam re-epoxied.” Specific ask, specific action.
- Send it in writing and note the date. Email or a written letter, not a text. Copy it to your file.
- Follow up once, at one week. A polite, short follow-up is enough. If you’re not getting a response, that itself is information about who you’re dealing with.
Common Mistakes to Avoid
- Letting the cabinet order go in before appliances are confirmed. The single most expensive shortcut in a kitchen. Model numbers in writing before the order, every time.
- Accepting a verbal estimate that changes after demo. If “we’ll know more when we open the wall” is part of the pitch, get a written price with a defined change-order process. A written price before work starts is the difference between a job you can budget and one you can’t.
- Grouting corners instead of sealing them. Grout in a change-of-plane joint cracks. Every time. The fix is flexible sealant, not more grout.
- Assuming a level floor means a level kitchen. Cabinets have to be shimmed to a level line at the top. A level floor is not the same as a level install.
- Ignoring a small countertop seam until it’s a crack. A seam that opens a hairline in year one is a five-minute fix. Left alone for two years of Santa Clarita summers, it’s a re-epoxy job.
- Waiting weeks to report a problem. The earlier you put a problem in writing, the stronger your position. Guarantee windows are time-limited for a reason.
- Hiring on price alone. The cheap bid tends to be the one missing the shim pack, the appliance confirmation, and the written guarantee – the three things that cost the most to fix later.
See the difference
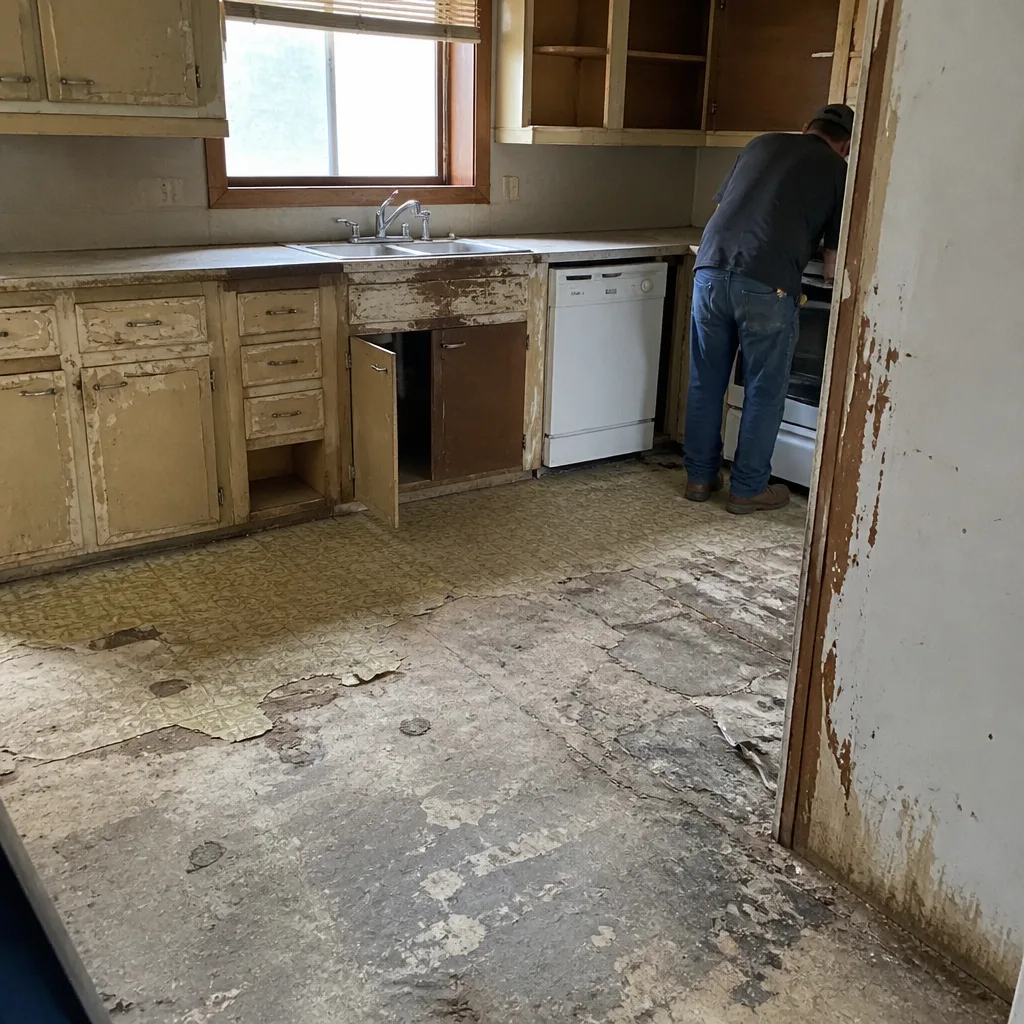 Before
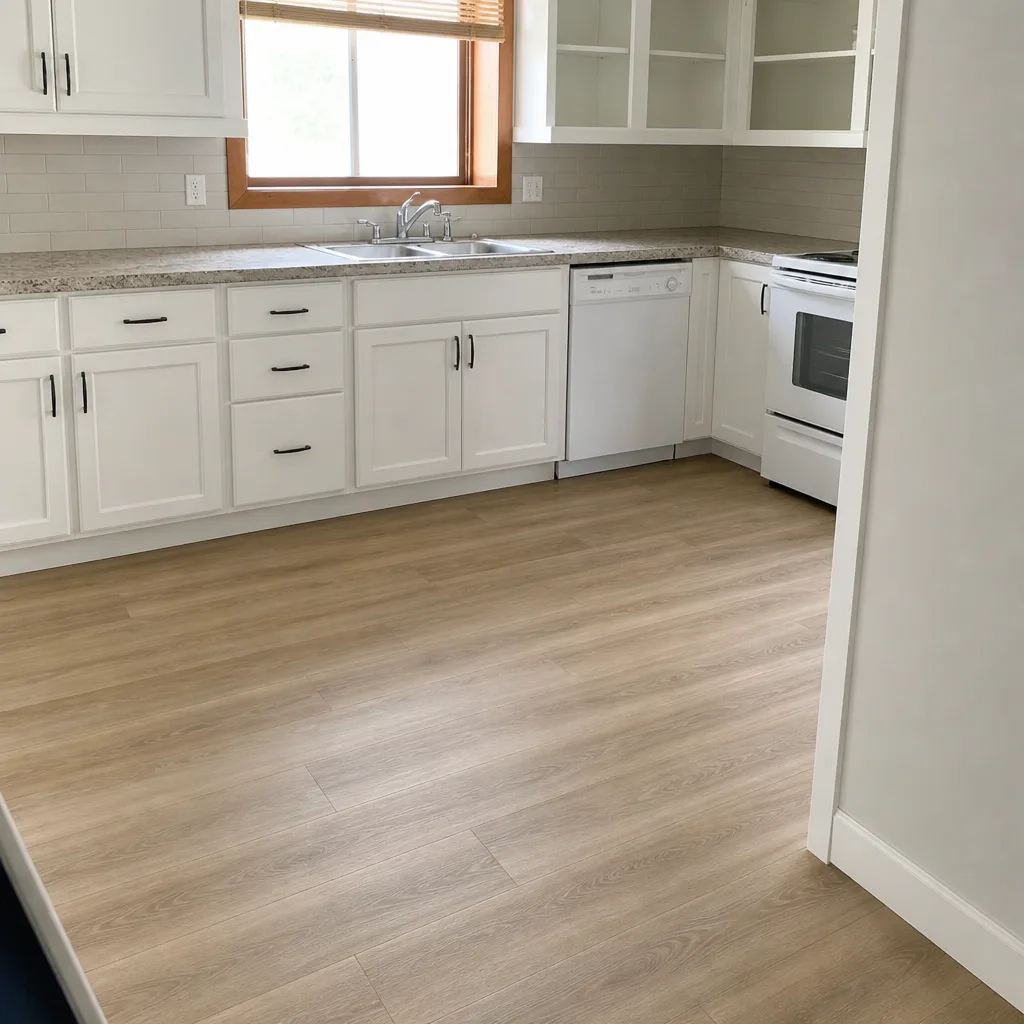 After
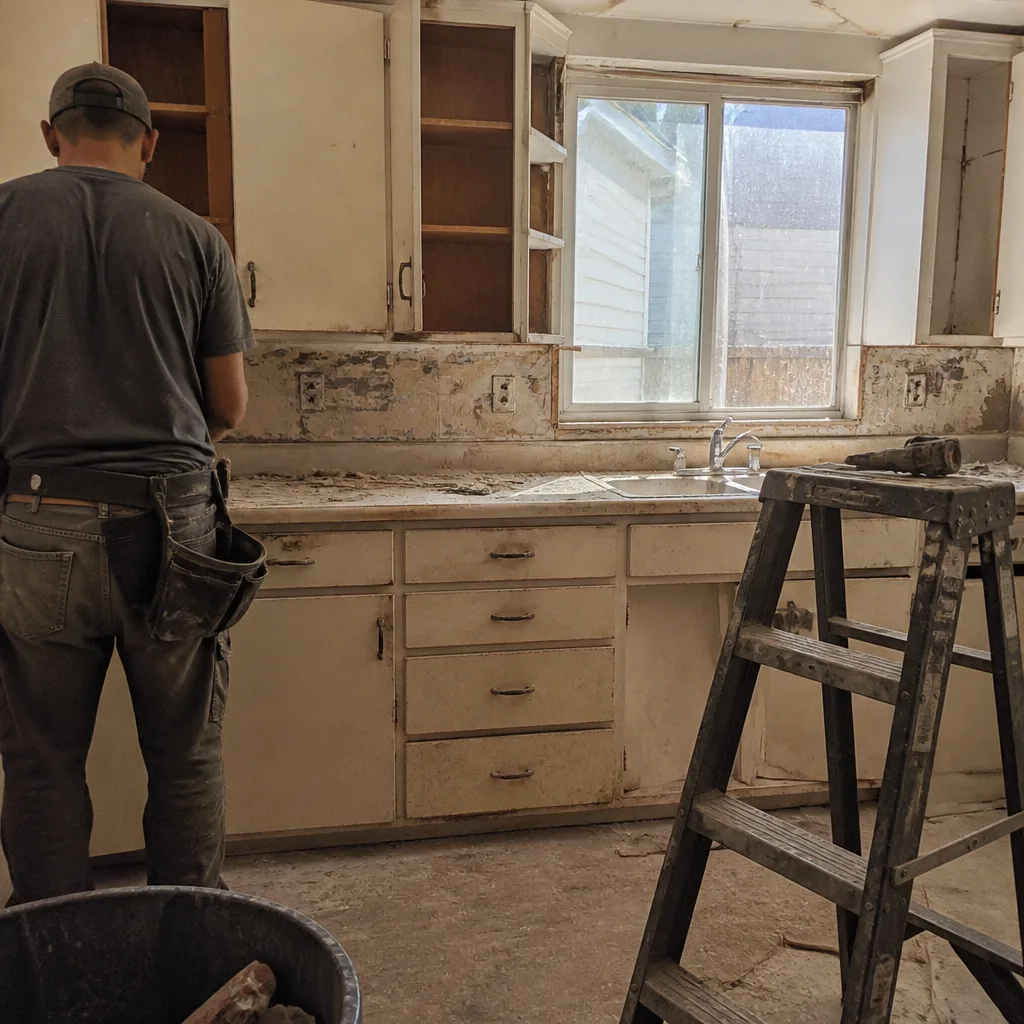 Before
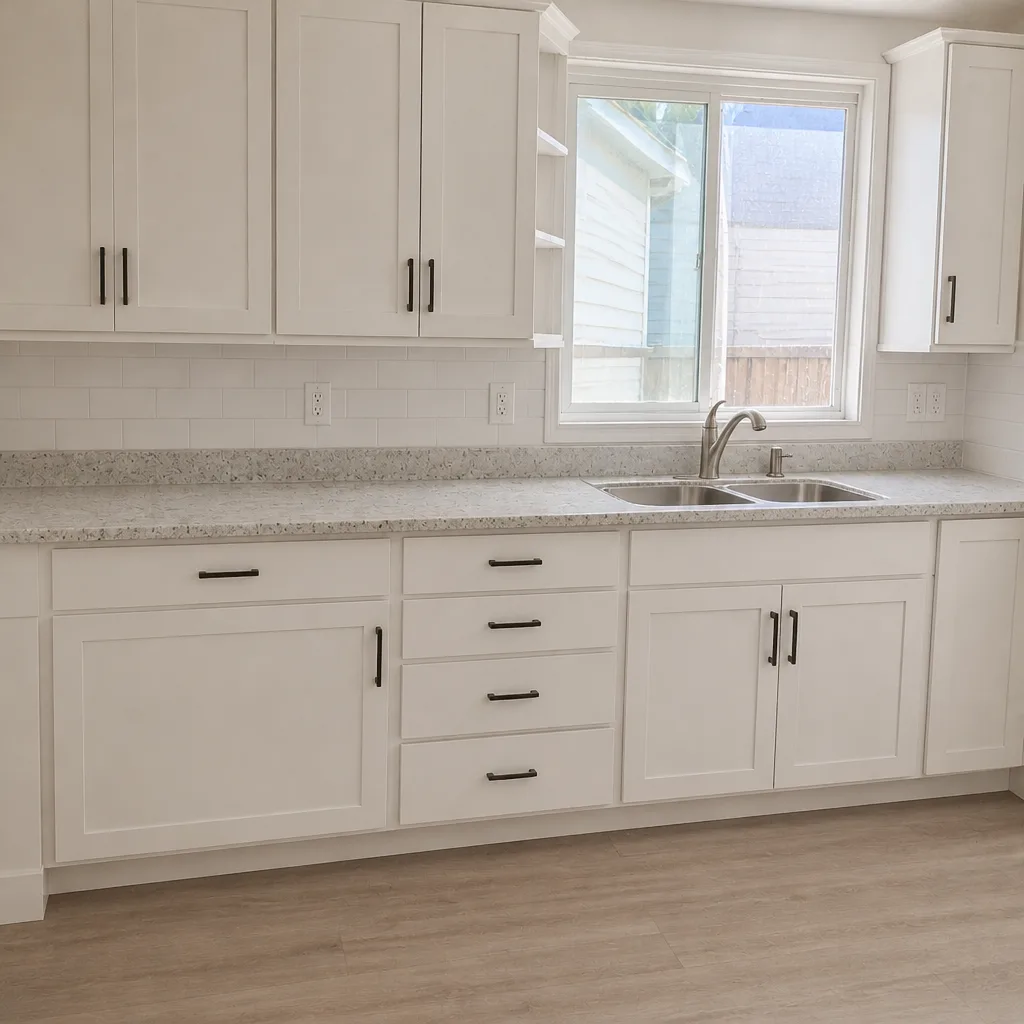 After
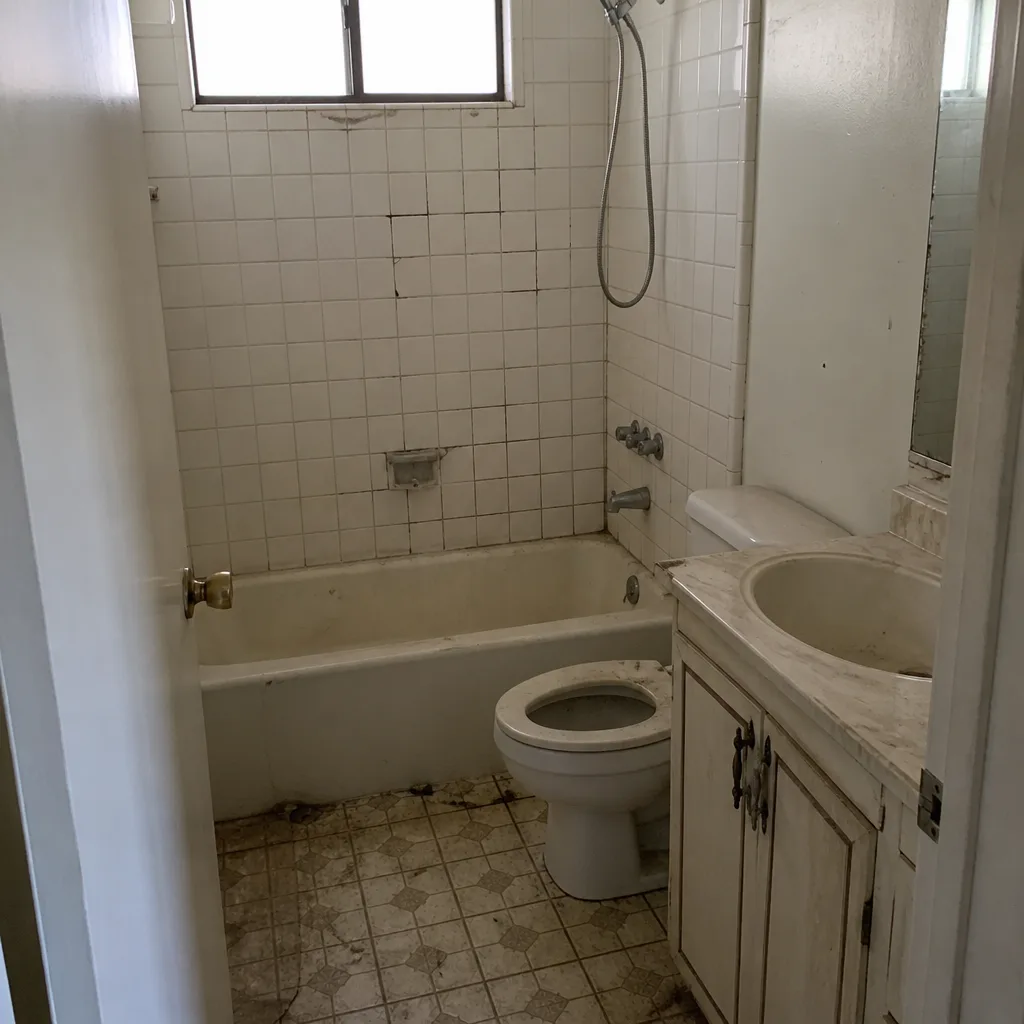 Before
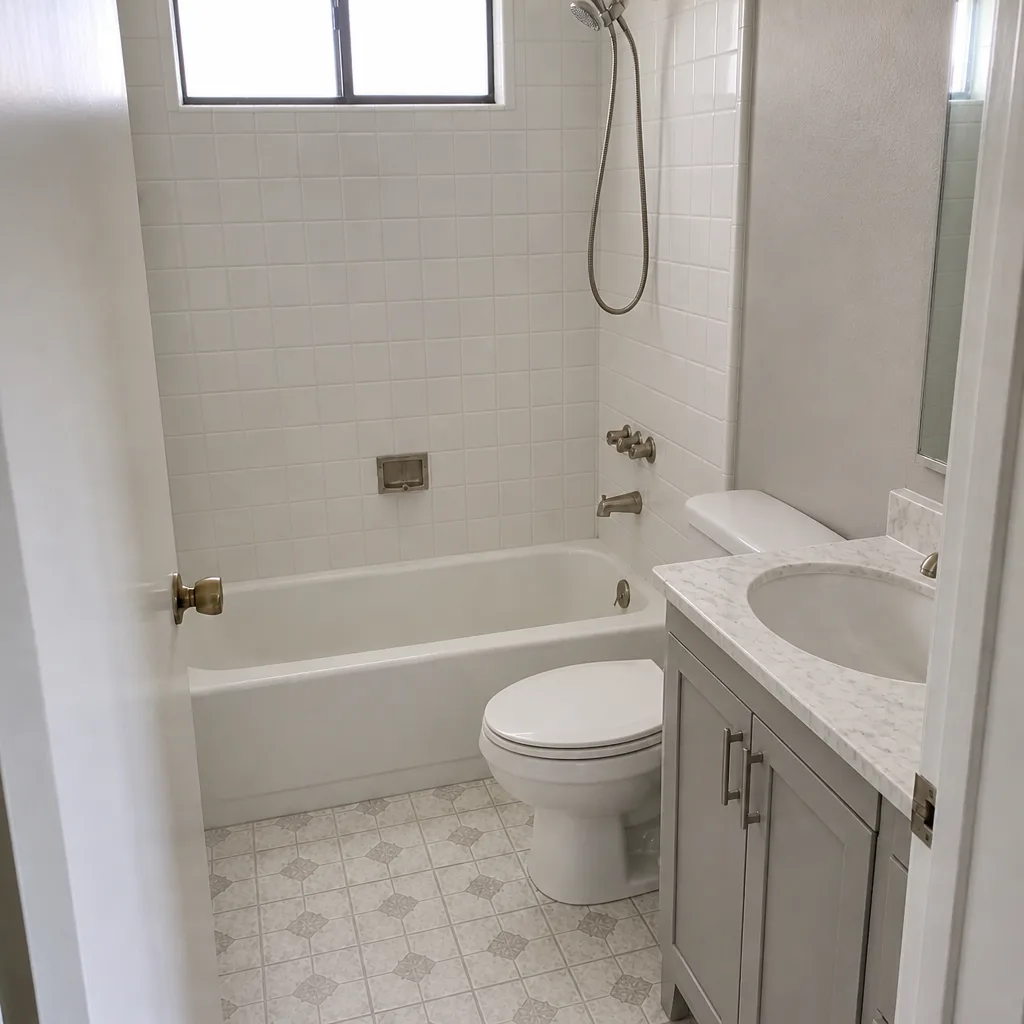 After
When to Call a Professional
If the cabinet box is out of square, the countertop seam needs re-epoxying and re-polishing, or an appliance opening needs reworking, that’s carpenter and trades work – not a homeowner fix. Grout raking and flexible sealant are friendly DIY territory; anything needing an oscillating saw inside a countertop seam is not. If you’ve had the same leak, crack or door misalignment repaired once and it’s back inside six months, the root cause was never fixed – call. Penhallow Remodeling Santa Clarita offers free estimates in Santa Clarita, backed by a written price and our 365-Day Done Right Promise, so if it’s not done right we make it right in writing. Call (866) 383-6693 to schedule yours.
Frequently Asked Questions
A hinge adjustment on an existing door is typically $120 – $220 for a service visit, and a simple hinge adjustment can be a homeowner job with a screwdriver in about ten minutes. If the cabinet box itself is out of square and has to be loosened and reshimmed, that runs $400 – $800 depending on how many boxes are affected. Call (866) 383-6693 for an exact quote – estimates are free.
Because it’s being repacked with grout instead of flexible sealant. Grout at a change-of-plane joint (countertop to backsplash, wall to wall) is always the piece that gives when the surrounding materials move. The lasting fix is raking the joint out and filling it with color-matched flexible sealant. If a contractor has already repacked it with grout and it cracked again, that’s a re-do you shouldn’t pay for twice. A written guarantee covers this, and ours does.
A seam is normal; an obvious one isn’t. Quartz countertops arrive in slabs and seamed together, and a well-done seam should be tight, flush and color-matched so it barely reads. If you can catch a fingernail in the seam or the two sides are at different heights, that’s an installation error and it should be repaired under warranty. Re-epoxying and re-polishing an existing seam runs $300 – $600 in most Santa Clarita kitchens.
First, check the appliance’s actual spec sheet against the opening – many homeowners find the model was swapped after the cabinet order. If the opening is wrong, trim or filler options usually run a few hundred dollars; a reworked cabinet can run four figures. The prevention is simple: appliance model numbers confirmed in writing before the cabinet box is ordered. That’s part of how we write every Kitchen Remodeling in Santa Clarita contract before work starts.
Repairs to cabinets, hinges, caulk joints and countertop seams don’t typically require a permit. Anything involving moving plumbing, electrical, or structural framing does. Pulling a permit is a job for the licensed professional on the project – not the homeowner – and in a remodel it’s a marker of a legitimate contractor. Ask before work starts, and get the answer in writing.
It shifts the burden of proof. Without a warranty, you’re negotiating; with one, you’re pointing to a written clause that says the contractor has to make it right. The 365-Day Done Right Promise is in writing on every Penhallow project, plus a free return visit if a repair fails inside the window – no service call, no re-inspection fee. That’s the standard we operate under. Call (866) 383-6693 to schedule a free estimate and see the written guarantee before you commit.
The Bottom Line
Almost every kitchen problem comes back to a planning shortcut made early – cabinets ordered before appliances, a joint filled with the wrong material, a template cut before the box was finalized. That means almost every fix is targeted, not wholesale. Document the problem clearly, reference the contract scope, and put your ask in writing. Our General Contractor in Santa Clarita team writes the price and the guarantee into the contract before work starts, which is why our homeowners don’t spend the first six months troubleshooting what should have been fixed on install day. If you’re planning a kitchen or have a bathroom on the list, our Bathroom Remodeling in Santa Clarita team writes the same way. For the broader picture of how we run a project, see our Penhallow Remodeling Santa Clarita home.
If your kitchen needs a real fix or you’re planning a remodel, call (866) 383-6693 for a free estimate. We’ll give you a written price, a real arrival window, and the 365-Day Done Right Promise, backed in writing, before a single cabinet is pulled.
Written by the team at Penhallow Remodeling Santa Clarita.