
Last updated November 18, 2026








Free written scope consultation - allowances, timeline, and change-order rules on paper before a single trade is scheduled
Home Remodeling Troubleshooting: Common Problems and How to Fix Them
A small bubble in new drywall might be a finishing imperfection. It might also be a slow leak from the bathroom above. The difference between those two things is about $4,000 in remediation, and you can narrow it down in five minutes with a flashlight and a moisture meter. Most homeowners wait weeks to make that call because they aren’t sure whether what they’re seeing is normal settling or a genuine failure. This guide gives you a plain-language test for the five most common post-remodel complaints, tells you how to read your warranty, and explains how to escalate a dispute in California if it ever comes to that. We work on remodels across Santa Clarita every week, and the problems we get called about are almost always recognizable early if you know what to look for.
Quick Answer
Most post-remodel problems fall into two categories: cosmetic settling that’s normal and will stabilize, or a symptom of a real defect that gets worse and more expensive the longer you wait. Drywall cracks that appear within the first year along seams are usually normal. Doors that won’t latch, flooring that lifts, and fixtures that leak are not. For each issue, check the symptom against a specific test, photograph it with a date reference, check your written warranty, and contact your contractor in writing. Anything involving water needs a call within 48 hours, not a wait-and-see.
Styles & brands we work with
- Kitchen remodeling
- Bathroom remodeling
- Home additions & ADU
- Roofing
- Windows & doors
- Driveway & pavers
- Fence
Table of Contents
- Drywall Cracks: Normal Settling or a Warning Sign?
- Interior Doors That Won’t Latch
- Flooring That Squeaks or Separates
- Paint That Peels Early
- Fixtures That Leak
- Warranty, Insurance, or Neither: How to Tell
- Six Months In: Is It Too Late?
- How to Escalate a Dispute in California
- The Preventable Root Causes
Drywall Cracks: Normal Settling or a Warning Sign?
Hairline cracks along drywall seams and corners, especially in the first six to twelve months after a remodel, are usually the house moving as it acclimates to new materials and seasonal humidity. Santa Clarita’s dry summers and the sharp swing into cooler months put real stress on interior drywall, and a crack less than 1/16 inch wide running vertically at a corner is almost always cosmetic. The one to worry about is a stair-step crack along a door or window frame, a diagonal crack at a corner, or any crack wider than the edge of a nickel. Those can signal movement in the framing or a moisture problem behind the wall.
The five-minute test: run your hand along the wall below the crack. If it feels cool or soft, or if the paint around it looks slightly discolored, get a moisture meter (a basic one runs $30 to $50) and press it against the wall. Anything above 15 to 17 percent moisture content in drywall means water is present; that’s not a drywall problem, it’s a leak. Photograph the crack next to a coin for scale and a dated note. Take a second photo in two weeks. If it has grown, call your contractor.
Homeowner fix vs. call a pro
- Cosmetic hairline crack, no moisture, not growing: Homeowner fix. Spackle, sand, touch-up paint after the crack stops changing.
- Moisture reading above 15 percent, or soft drywall: Call a pro within 48 hours. This is a leak or a ventilation failure and it will not resolve itself.
- Crack wider than a nickel or growing week to week: Call a pro. Framing movement needs to be diagnosed before it’s patched.
Interior Doors That Won’t Latch
A door that suddenly won’t catch the strike plate in its frame, or that swings open on its own, is telling you the door, the frame, or the hinge has moved. In newer construction and in remodels where a wall was opened, doors that were perfectly aligned in the first month can drift within a season as framing lumber dries and the house settles. The strike-plate test is the fastest diagnostic: open the door, place a thin piece of cardboard behind the strike plate to push it out 1/8 inch, and see if the door now latches. If it grabs, the door has simply shifted and the strike plate needs to move, which is a ten-minute adjustment.
If the door scrapes along the top or binds through its whole swing, or if the gap between the door and the frame is wider at the top corner than the bottom, the door is out of square. That’s not a hinge problem. In a Santa Clarita remodel, an out-of-square door often means the frame wasn’t fully shimmed and anchored, or the header above it was fitted loose. That’s a contractor issue, not a homeowner fix, and the fix is realigning the frame, not sanding the door down. We’ve seen homeowners shave a door twice before realizing the frame had moved half an inch.
Flooring That Squeaks or Separates
Squeaking in a wood floor is the sound of a fastener or a board moving against a joist, and it’s the most common complaint we hear after a floor install. The causes are specific: subfloor panels that were installed without enough fasteners or without glue, a joist that wasn’t flattened before the new floor went down, or engineered flooring installed before it acclimated to the room’s humidity. That last one matters more in Santa Clarita than most places, because flooring that was stored in a cold truck and then laid the same day will expand and contract as it adjusts, and the seams will open. The general rule is to let the flooring sit in the room for at least 48 to 72 hours before installation. A contractor who skips that step is asking for a callback.
Luxury vinyl plank that lifts at a seam, or tile that has hollow-sounding spots when you tap it with a screwdriver handle, are separate problems. Hollow tile means the thinset didn’t fully bond and the tile will eventually pop or crack. A seam that lifts in LVP usually means the floor wasn’t flattened enough underneath, or there was no expansion gap left at the wall. Both are installation defects, not wear. Don’t glue the seam back down; that traps the problem and voids most material warranties.
What to check
- Tap the floor with a screwdriver handle every six inches. Hollow sound means a bonding or flattening problem.
- Walk room by room and mark squeaks with painter’s tape; if they’re clustered in one area, it’s likely a joist or subfloor issue.
- Check the baseboard for a visible gap at the wall; a floor that’s pushed tight to the wall has no expansion room.
- Compare any lifted plank or seam to the rest of the floor; a single failing seam is a localized fix, a run of them is a re-do.
Paint That Peels Early
Paint that peels within a year, rather than after the normal seven to ten years an interior latex job should last, almost always means one of three things: the surface wasn’t cleaned or deglossed, the paint was applied over a surface that was still damp, or the wrong product was used (exterior paint on interior trim, too many coats over old oil-based paint without a bonding primer). In a bathroom, peeling near the shower is a moisture problem; that means the ventilation isn’t moving enough humid air out, not that the paint was bad. Check the fan by holding a piece of tissue against the grille while it runs. If the tissue doesn’t stay, the fan isn’t pulling air and needs to be replaced.
Peeling won’t stop on its own. Paint that’s failing at the edges of a section will keep curling back, so the earlier you address it, the smaller the prep job. Sand the peeling edge, prime, and repaint the affected section; if the whole wall is failing, the correct fix is a full strip and re-prep, which is a job to bring back to the contractor if it’s inside the warranty window. Resist the urge to just touch up the peel. You’ll be doing it again in three months, and sanding over an unresolved cause just buries the problem in another layer.
Fixtures That Leak
A slow drip under a sink, a toilet that rocks, a shower valve that weeps, or water staining at the base of a faucet – these are the highest-priority items on this list because water damage is the one problem that reliably gets more expensive with time. A slow leak under a kitchen sink with a KraftMaid cabinet underneath can swell the cabinet base within weeks and turn a $150 faucet fix into a $1,200 cabinet replacement. The test is simple: wrap a paper towel around the base of the supply lines and the drain tailpiece, wait an hour, and look for a wet spot. Also check the toilet by pressing down firmly on one side of the bowl; a toilet that rocks needs the flange checked, not just new bolts.
We install Delta, Moen, Kohler and American Standard fixtures because the trim cartridges and valve assemblies are supported by manufacturer warranties on top of the installation warranty, and the parts are available locally, usually same day. That matters when a cartridge fails in year two: the part is often covered, and the labor is a one-visit fix. If a faucet is leaking from the body rather than the base or the spout, stop using it and call. Running water through a failed valve body can get behind the wall.
Homeowner fix vs. call a pro
- Dripping faucet at the spout, one brand-name cartridge: Homeowner fix if you’re comfortable shutting off the supply.
- Leak under the sink at a supply line: Tighten, then if the leak persists, call a pro the same day.
- Water staining on drywall or cabinet base, or a toilet that rocks: Call a pro. This is already water damage.
- Shower valve leaking behind the wall: Call a pro. Do not keep using the shower until it’s diagnosed.
Warranty, Insurance, or Neither: How to Tell
The warranty question trips up more homeowners than any other part of a remodel, because people assume the contractor’s warranty covers everything, or that their homeowner’s policy is a backup for any failure. The two don’t work that way. A contractor’s workmanship warranty covers defects caused by the installation; a homeowner’s policy covers sudden, accidental damage, usually from a specific event like a burst pipe or a storm, and typically not slow leaks or poor workmanship. Our Penhallow Remodeling Santa Clarita home page lays out the written guarantee structure if you want to see how it’s meant to work in practice.
Which one applies to your problem
- Check the written contract first. If it names a workmanship warranty period and what’s covered, that’s your first call.
- Compare the symptom to the warranty language. “Installation failure” or “defect in workmanship” usually means the contractor; “wear and tear” and “owner-caused damage” are excluded.
- Call your insurer only if the failure was sudden and made a mess. A slow leak that stained drywall over months is generally not a covered peril. A valve that let go and flooded the floor in an hour might be.
- Document before you call anyone. Date-stamped photos, the original contract, the warranty, and receipts for any materials you bought. A contractor or adjuster who has the documentation will move faster.
If you’re in Santa Clarita and not sure which side a problem falls on, the free-est thing you can do is call and ask. Our live phone coverage means a real person answers, day or night, and our 365-Day Done Right Promise means when work we did fails inside that year, we come back and fix it at no charge.
Six Months In: Is It Too Late?
No, and this is the question we hear most often. The “six months” worry comes from a reasonable instinct that the contractor has moved on and the window has closed. In California, most written workmanship warranties run one year from completion, and the 365-Day Done Right Promise we operate under runs a full calendar year, so a problem at month six is squarely inside it. The documents you need are the original signed contract, the warranty terms, and your photos. What you don’t want to do is wait until month ten to call, when there’s less time to resolve it before the window closes.
But the urgency depends on the problem. Some issue types get worse, and some are stable.
- Gets worse with time, call now: any leak or moisture reading, growing cracks, hollow tile, a fixture with a failed valve body, water staining.
- Stable but still worth reporting: a hairline crack that isn’t growing, a door that needs a strike-plate adjustment, a single cosmetic peel.
- Worth flagging for a visit at the end of the year: minor cosmetic settling that might resolve on its own as the Santa Clarita seasons settle the house.
Do the reporting in writing, by email or text, so there’s a record of when the problem was first raised. “I noticed this in March” reads very differently on paper than a call nobody logged.
How to Escalate a Dispute in California
If a call doesn’t resolve the problem and the warranty is clear, California gives a homeowner real tools, in order of escalation. Start with the written contract and the written warranty you should have received before work started – The Kingswell Way requires a written price before any work begins, and that same documentation is what you’d rely on here. Send a written demand letter outlining what failed, what the warranty says, what you’re asking for, and a reasonable deadline to respond.
- Written demand letter. Itemize the failure, reference the contract and warranty by section, and state a deadline. Keep a copy.
- Contractors State License Board complaint. The CSLB accepts written complaints against licensed contractors and will investigate. Filing is free. It’s the single most effective step if the contractor is licensed and the dispute is about defective work.
- Small claims court. California’s small claims limit is $12,500 for individuals, so most single-room drywall and door issues fall inside it. Filing fee is modest, you don’t need a lawyer, and the written contract and dated photos carry a lot of weight with a judge.
- County superior court. For damages above the small claims limit, usually where structural failures are involved. That’s a case to bring a lawyer to.
A written contract with a written warranty changes all of these. Contractors who work on a handshake get defended on, “we agreed on something;” contractors who hand you a written number and a written guarantee before work starts have given you a document to enforce. That’s not a legal threat, it’s the reason to insist on paper at bid time.
The Preventable Root Causes
Nearly every failure in this guide traces back to one of four conditions that were set before the walls closed up. Recognizing them during your next project is more useful than knowing how to patch afterward.
Skipped inspections
In Santa Clarita, a permitted remodel gets inspections at rough-in and at final. Waterproofing in a shower goes through a flood test before tile. If a contractor offers to skip the permit to save you a few hundred dollars and a few days, it’s a signal: either the work won’t pass inspection, or the contractor isn’t licensed to pull it. Unpermitted work can also complicate the sale of the house years later, which is the real cost.
Materials installed before acclimating
Wood flooring, cabinet boxes and door slabs all move as they take on the humidity of the house. A contractor who doesn’t let materials sit in the room before install will deliver a project that needs adjustment within the first season. Ask during the bid how many days materials will sit.
Caulk used as a structural gap filler
Caulk is a seal, not a shim. When a gap is too big to caulk, the correct fix is to close the gap with the substrate – flashing, backer rod, or a properly cut piece of trim. A bead of caulk across a half-inch gap will crack within the first season, every time, and the crack will look exactly like a leak.
Finishes applied over damp substrate
Paint and thinset both need a dry substrate. In a bathroom, that means cement board substrate (the moisture-resistant layer behind your tile) fully cured before waterproofing, and waterproofing checked before tile. On drywall, it means a moisture test before paint goes on. Ask the contractor for the moisture reading; a good one will have taken it.
Common Mistakes to Avoid
- Painting over a leak to see if it comes back. It always comes back. You’ve now made the diagnosis harder and added a repaint to the list.
- Assuming the manufacturer’s warranty replaces the installer’s warranty. A Toto toilet with its own manufacturer warranty still needs a correct install; if the flange is wrong, the manufacturer isn’t paying for the re-install.
- Reporting a problem by phone with no record. Put it in text or email with a photo, so there’s a dated trail.
- Waiting until month eleven to call on a year-one issue. Leaves no room for a return visit and a fix.
- Shaving a door or gluing a floor seam before checking for a frame or flattening problem. Both fixes hide a bigger issue.
- Skipping a moisture meter to save $40. That’s the cheapest way to tell a $200 drywall touch-up from a $4,000 leak remediation.
- Spreading caulk across a structural gap. It cracks, looks like a leak, and wastes a season of warranty window.
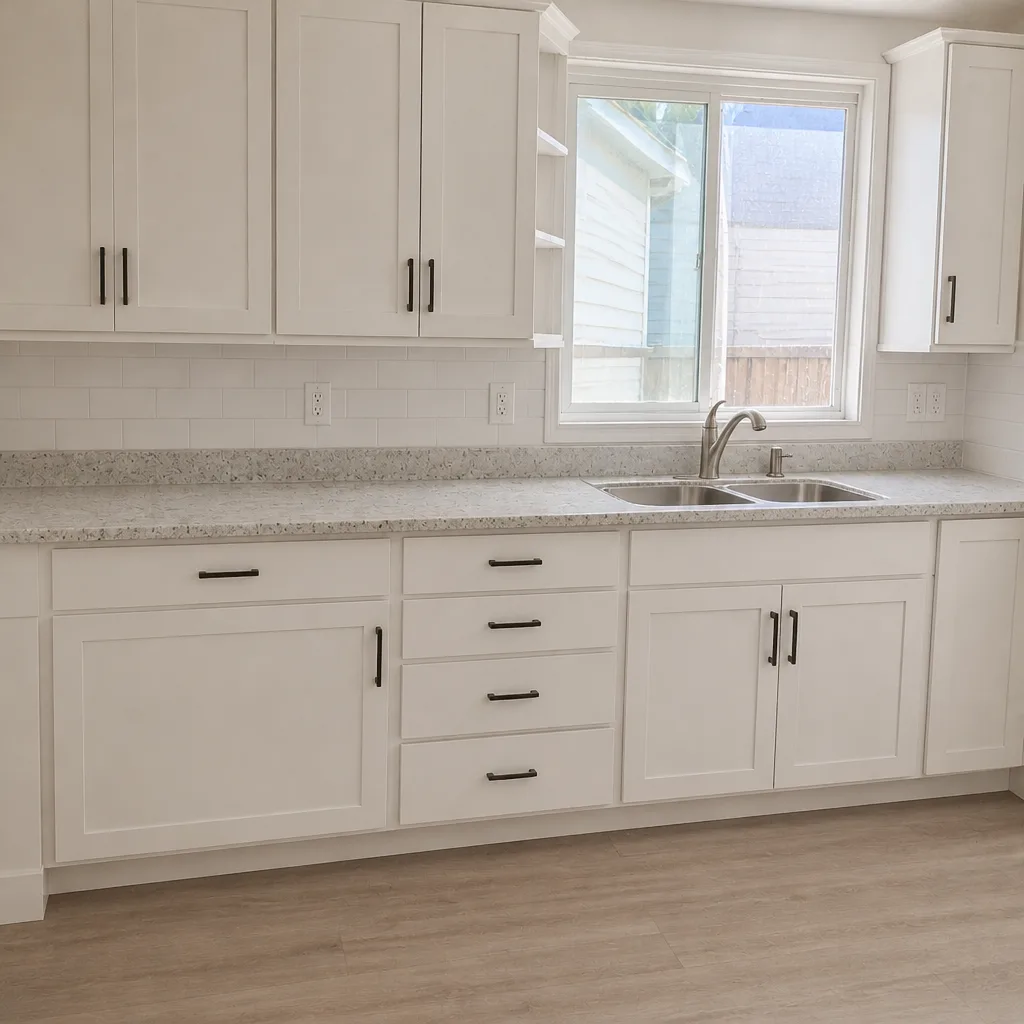
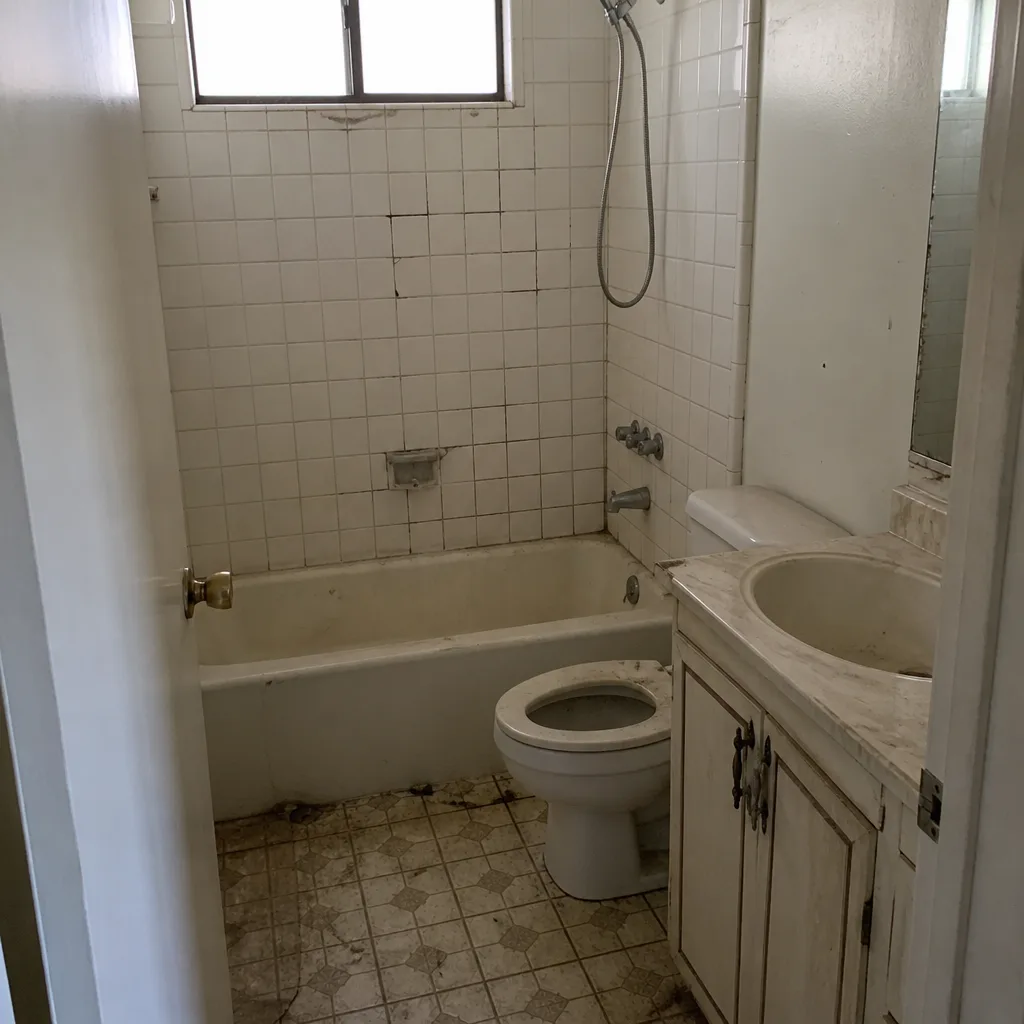
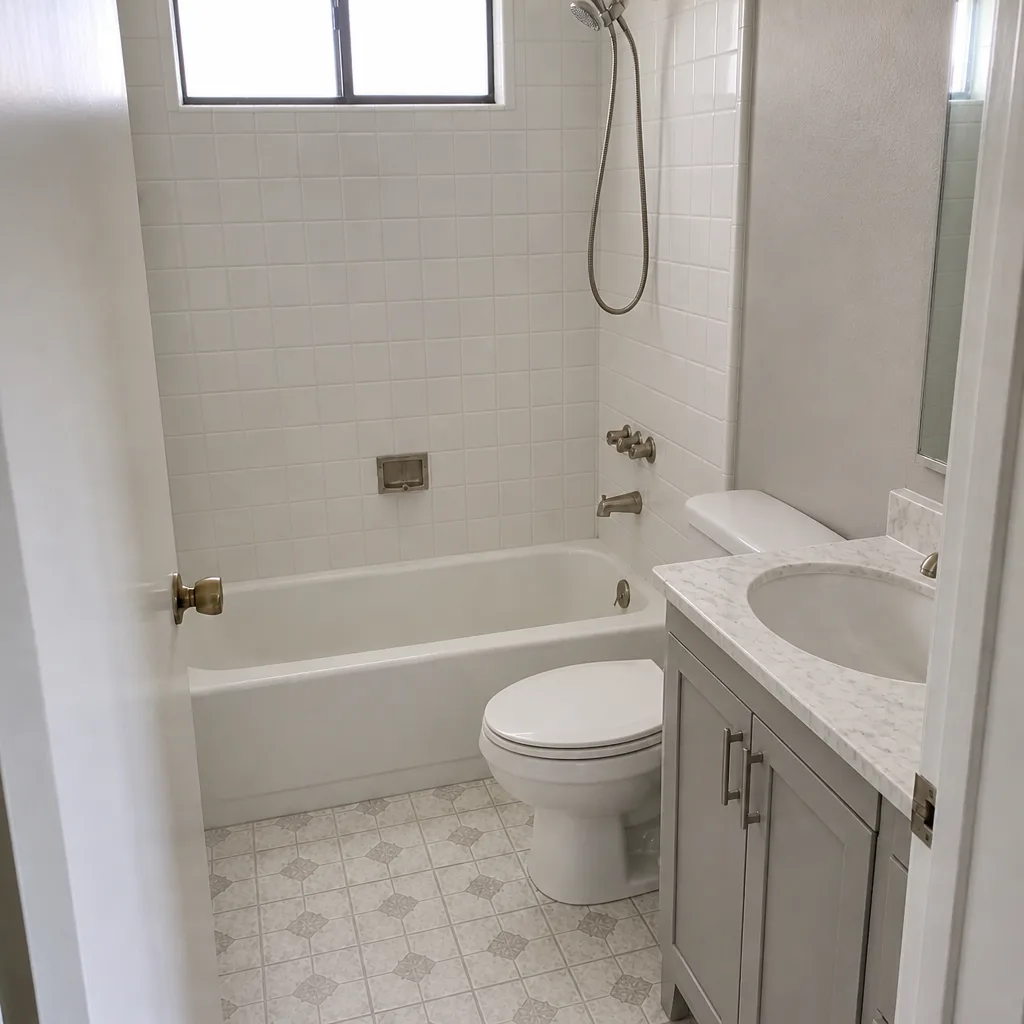
See the difference
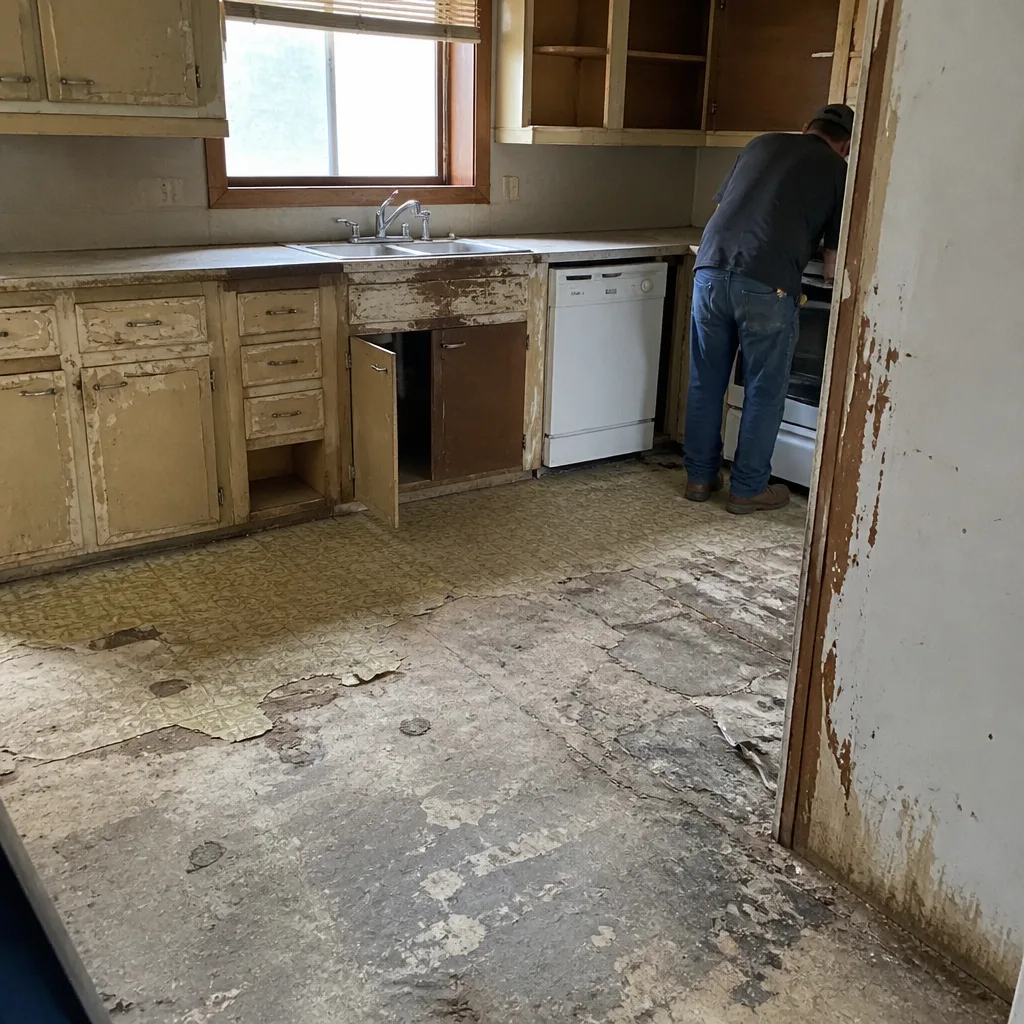 Before
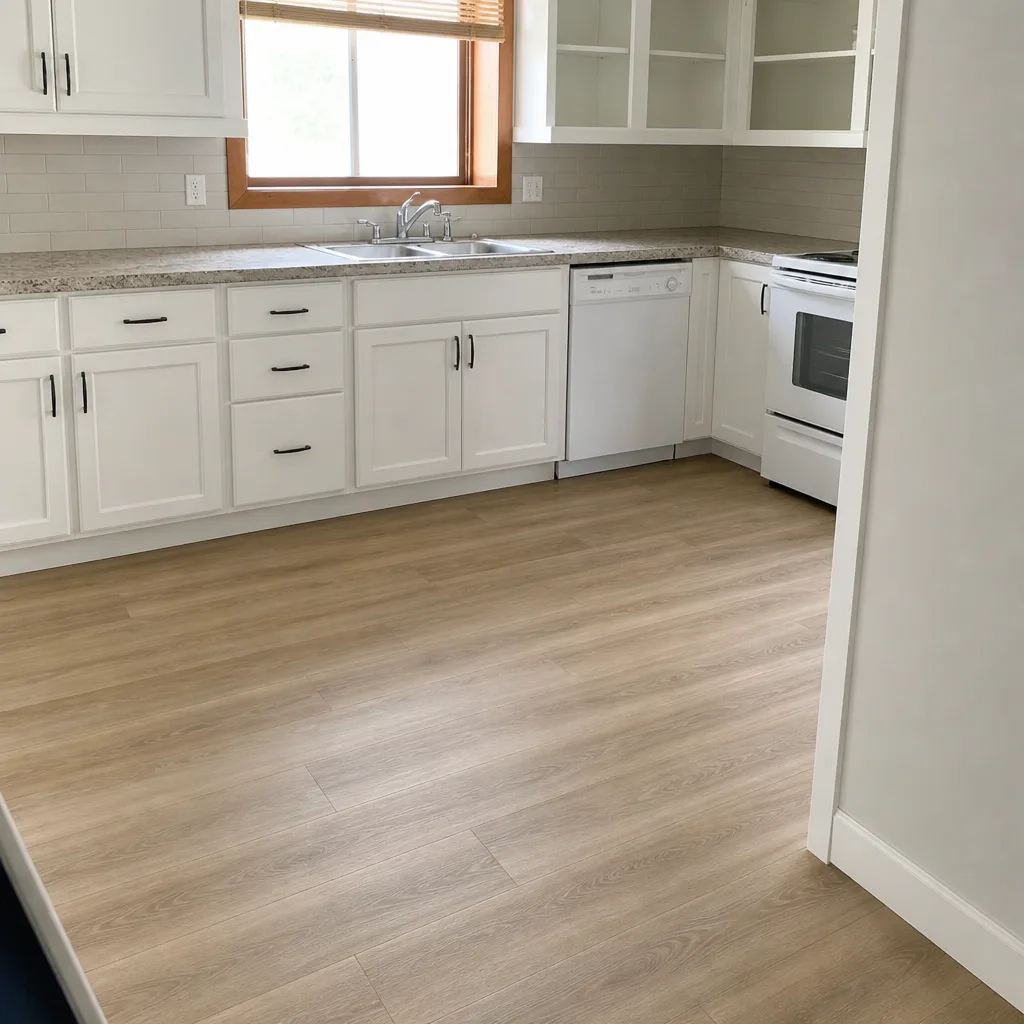 After
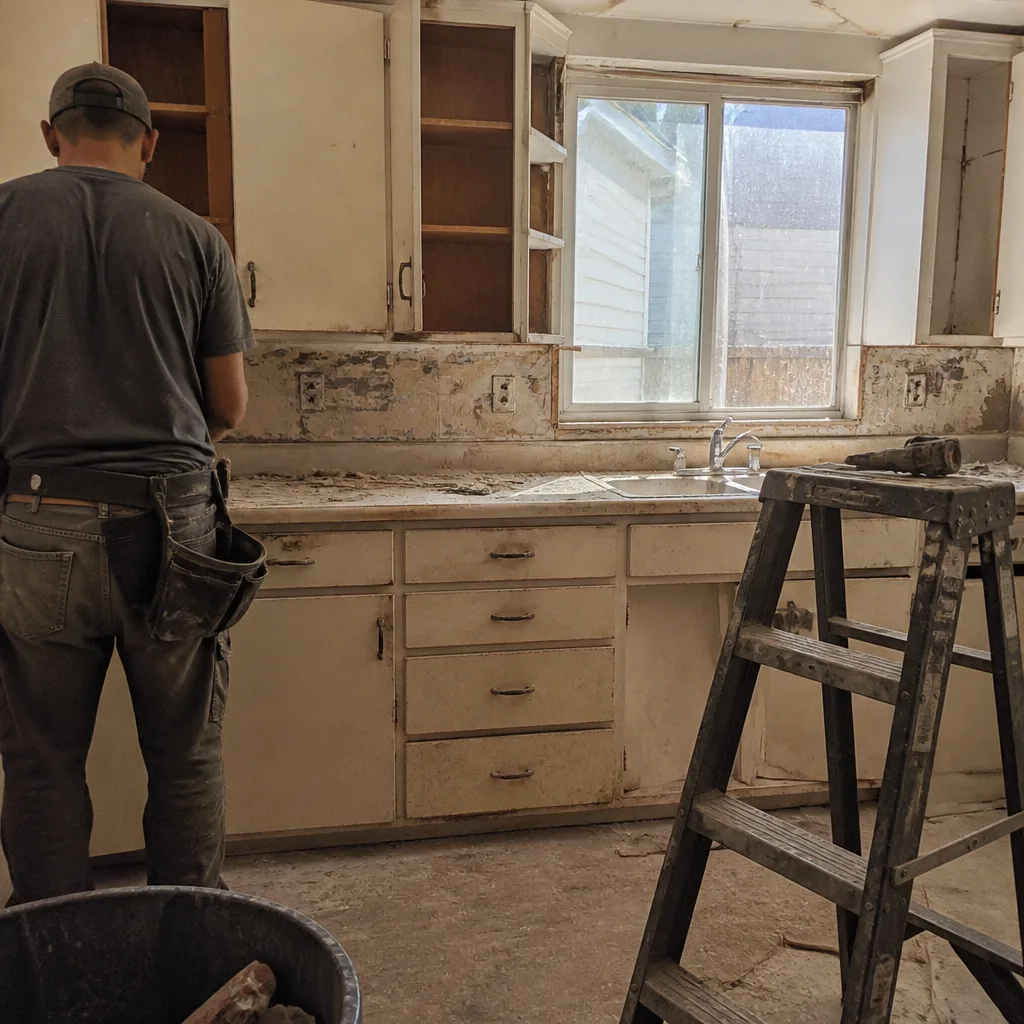 Before
 After
 Before
 After
When to Call a Professional
Call a professional immediately for any water you’ve confirmed with a moisture meter, any leak behind a wall or cabinet, a toilet that rocks, a shower valve that weeps, tile with hollow spots, or drywall that’s soft or discolored. Call within the week for a door that’s out of square or a floor with multiple failing seams. If you’re not sure whether a hairline crack or a single peel is serious, that’s a reasonable call to make on a non-urgent basis; the diagnostic is what matters, and a professional can tell you in ten minutes whether the problem is cosmetic or structural. We offer free estimates in Santa Clarita from our General Contractor in Santa Clarita page – call (866) 383-6693. A free second visit if a repair fails is part of how every job runs.
Frequently Asked Questions

A single hairline crack with no moisture damage is typically $150 to $350 to patch, sand, and paint, and a contractor who did the original work will often cover it under a first-year warranty. A crack with a confirmed moisture reading behind it is a different job, usually $800 to $4,000 depending on how far the water traveled and whether a bathroom above is involved. Call (866) 383-6693 for an exact quote – estimates are free.
It shouldn’t, and the way to make sure is to get a written price before any work begins, not a verbal ballpark. We give a written number, and the number on day one is the number on the invoice. If conditions are found that genuinely couldn’t be seen, such as a hidden leak behind a finished wall, that’s discussed in writing before any additional work, not added to the final bill.
Usually yes, if it was installed or adjusted during the remodel and the problem appeared within the written workmanship warranty period. The diagnostic is whether the door is out of square (a frame issue) or just needs a strike plate adjustment (a minor fix). Send a photo and a description to the contractor; a frame issue is a warranty item, a strike plate is often a 15-minute service call.
Yes. A permitted remodel gets the inspections that catch the four most common root causes before the walls close: rough-in, waterproofing, and final. Pulling the permit is part of the project, not an add-on, and it protects you at resale as much as it protects the work itself. We’re happy to walk you through the inspection schedule before the project starts.
No. A squeak that appears in the first year is usually a subfloor or fastening issue caused by installation, not wear, and it’s covered under workmanship warranty. It won’t fix itself and it will gradually spread. It’s worth a call in writing this week, with a photo of the affected area and a note of when you first heard it.
Date-stamped photos with a coin or ruler for scale, the original signed contract, the written warranty, and a short written description of when the problem started and what you’ve observed. Send it by email or text to the contractor so there’s a record. That set of documents is also exactly what you’d need if the matter ever went to the CSLB or small claims in California.
The Bottom Line
The most expensive remodeling mistake is usually not the problem itself; it’s the delay in deciding whether it’s a problem. A hairline drywall crack that isn’t growing is cosmetic. A crack with a moisture reading above 15 percent is a leak. A door that needs a strike plate adjustment is a minor service; a door that’s out of square is a frame issue. Get a moisture meter, photo-document anything you see, check your written warranty, report in writing, and call immediately for water. The other half of the equation is what happens before the project starts: insist on written pricing, permits, and a written guarantee that runs a full 365 days. That paperwork is what makes a post-project problem resolvable instead of a fight. Our technicians have up to 22 years of experience, are background-checked and arrive in uniform, and a live person answers the phone 24/7.
Call (866) 383-6693 for a free estimate. We’ll walk through what you’re seeing, tell you whether it’s cosmetic or structural, and give you a written price before anything starts. If you’re considering a kitchen remodeling in Santa Clarita or a bathroom remodeling in Santa Clarita, the same written-price and 365-Day Done Right Promise applies from day one. We install recognized trade brands – Cambria quartz, James Hardie siding, Kohler, Moen, Delta and American Standard fixtures – each carrying its own manufacturer warranty alongside ours, so the protection behind the work has two layers, not one.
Written by the team at Penhallow Remodeling Santa Clarita.